In this blog posting you'll find the classic Schwarzwälder Kirschtorte recipe in English (Black Forest Cake recipe) as well as very detailed instructions with pictures. Also, in the article below, I have summarized and answered the most frequently asked questions about Black Forest Cake and all my mother-in-law's secret tipps to make the perfect Schwarzwälder Kirschtorte.
Recently, I got to look over my mother-in-law's shoulder as she baked her Black Forest Cake. To make it easy for beginners to recreate the cake, I took pictures of each step and wrote down all of her tips.
Therefore, the instructions should be pretty easy to understand even for "cake beginners". So don't be afraid to bake the cake, the recipe is really not difficult!
Jump to:
- Ingredients
- Instructions
- 13. How do i get chocolate sprinkles on the black forest cake?
- 14. Decorate the black forest cake
- Equipment
- FAQ - Frequently asked questions
- What alcohol is in the Black Forest cake?
- What is Kirschwasser?
- What to use instead of Kirsch for black forest cake?
- Is Black Forest cake suitable for children?
- Black Forest Cake
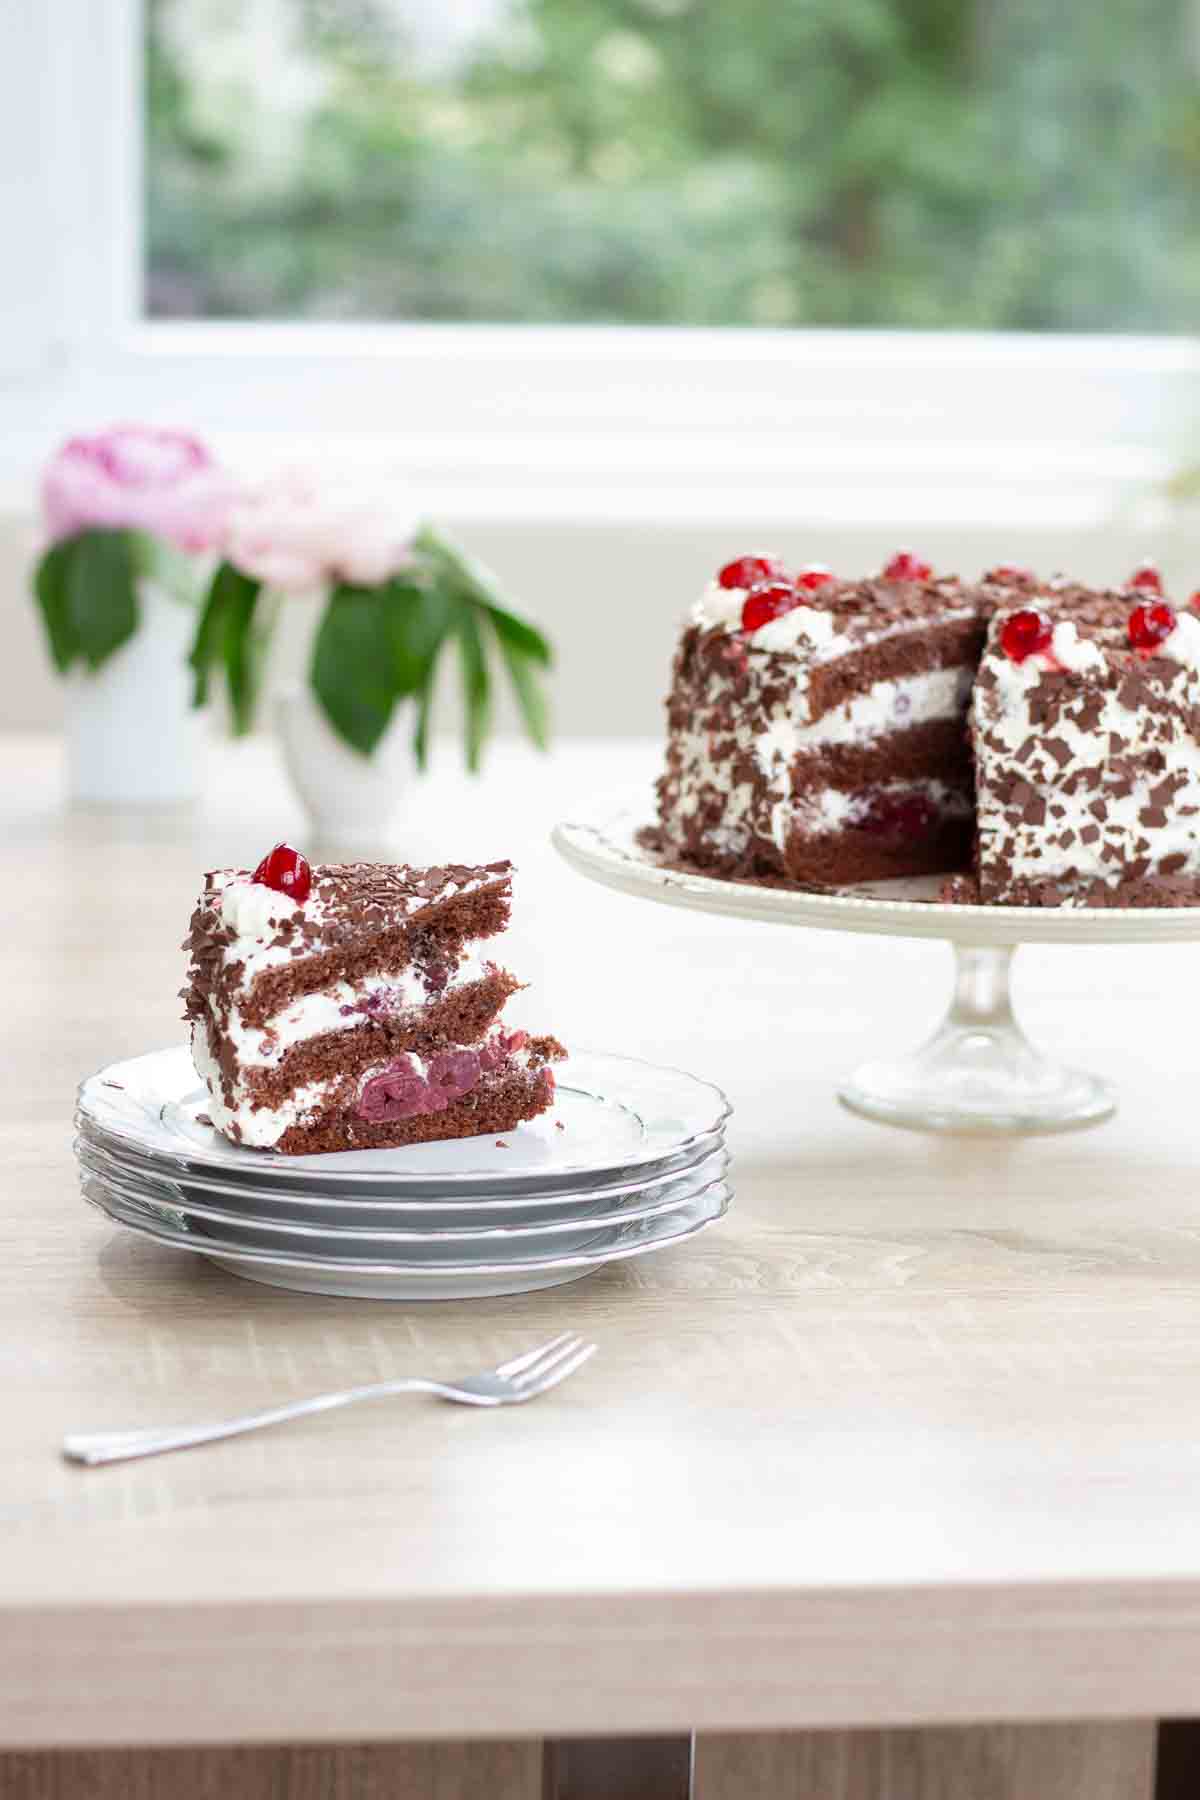
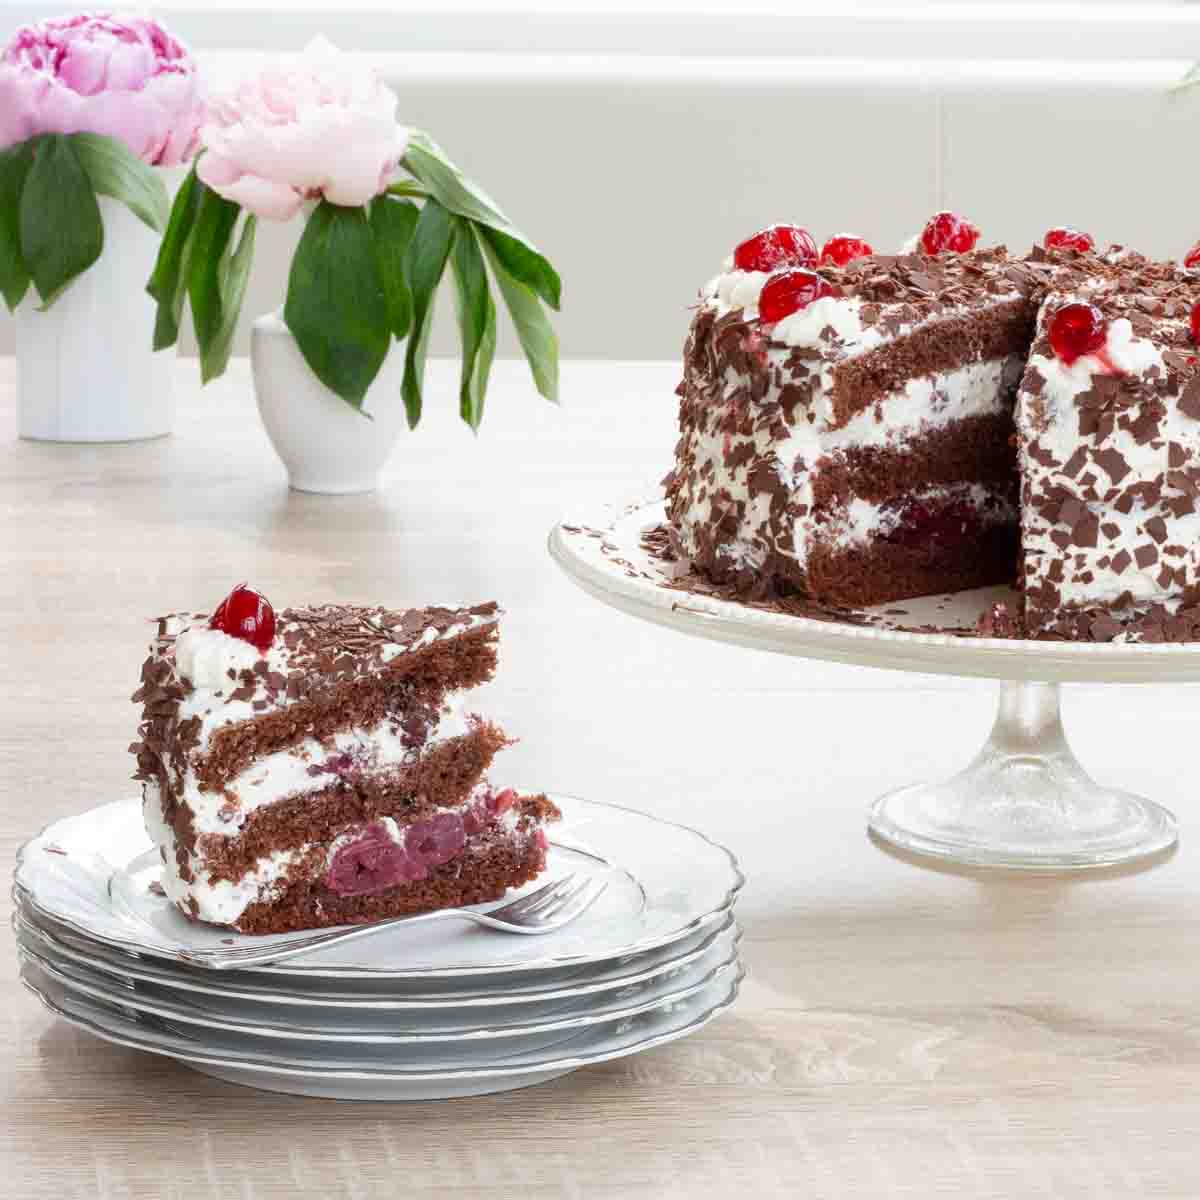
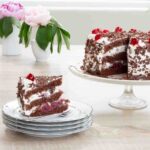
Black Forest cake is my very favorite cake!
I love the typical Black Forest combination of sour cherries, sweet whipped cream and the chocolate note. For me, this is the perfect combination for a cake.

Ingredients
Here is some detailed information about the ingredients you need for the Black Forest Cake recipe. The short version of the recipe can be found in the printable recipe card at the end of this post.
Jump to recipeTo make the Schwarzwälder Kirschtorte recipe, you'll need:
For the batter
- 6 egg white
- 6 egg yolk
- 8 tbsp. water (~100-120ml)
- 1 cup granulated sugar (200g)
- ¾ cup all purpose flour (105 gram)
- 6 tablespoons cornstarch (45 gram)
- 8 tablespoons cocoa powder (40 gram; baking cacao, unsweetened)
For filling and topping
- 1-2 cans canned sour cherries (~350g/14oz net weight)
- 2 cups cream for whipping (500ml; heavy cream or double cream)
- chocolate flakes (grate a chocolate bar alternatively)
- 12-16 candied cherries or canned tart cherries as an alternative
- juice from canned tart cherries or cherry juice
- Kirsch or cherry brandy, cherry schnaps or liqueur
- red currant jelly (optional)
Further
- butter for the springform pan
- flour for the springform pan
Instructions
Here comes a detailed step-by-step instructions with pictures.
For the short version of the recipe, click here:
Jump to recipeClick here for more pastry and cake recipes
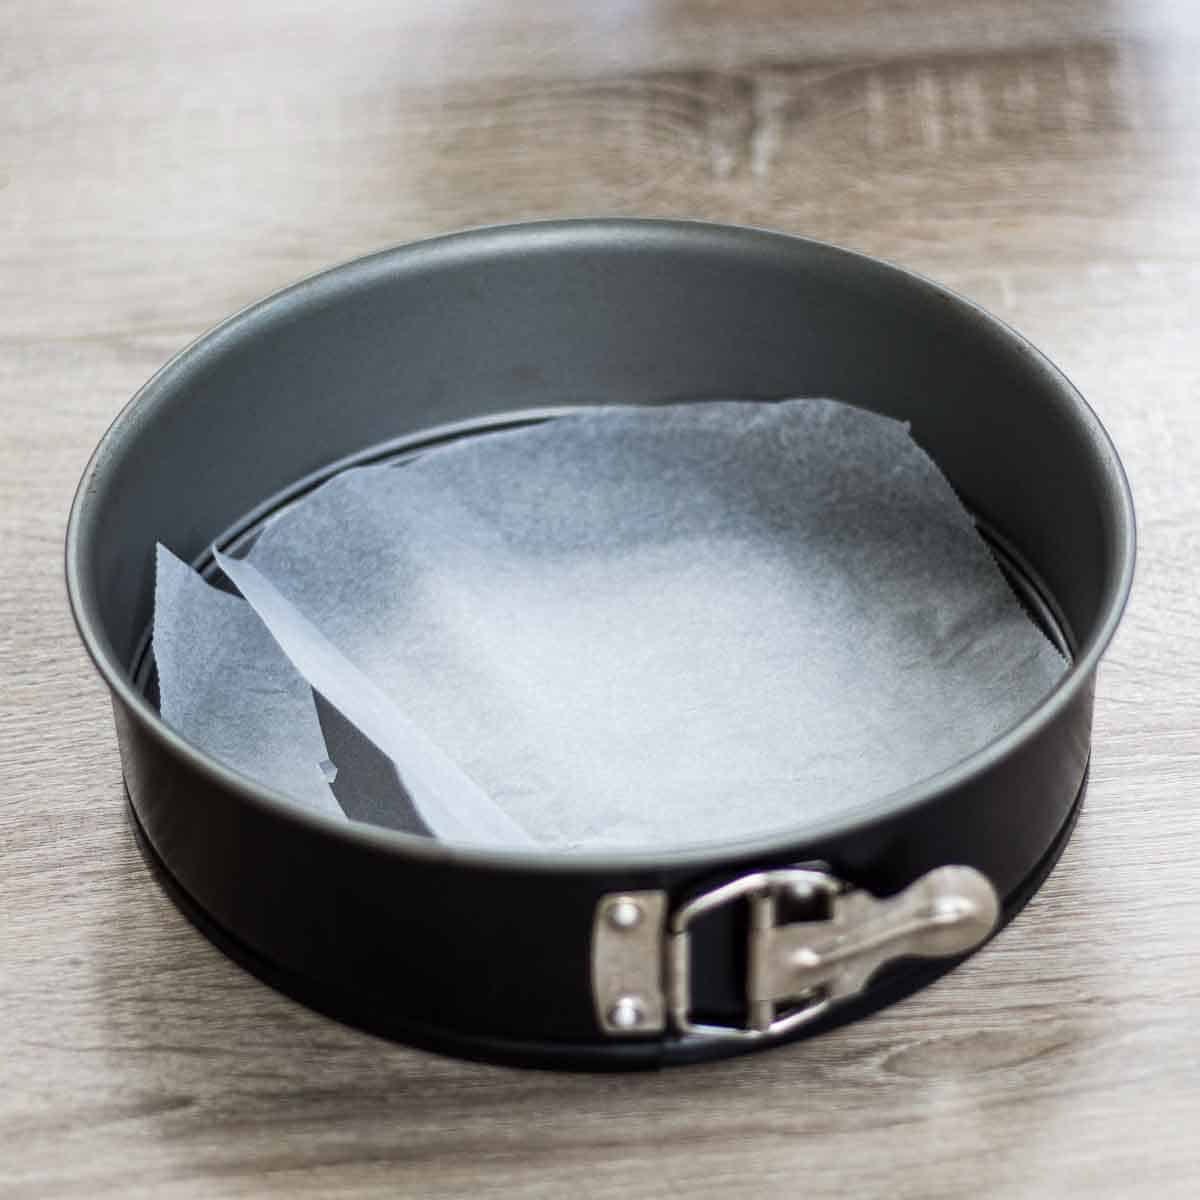
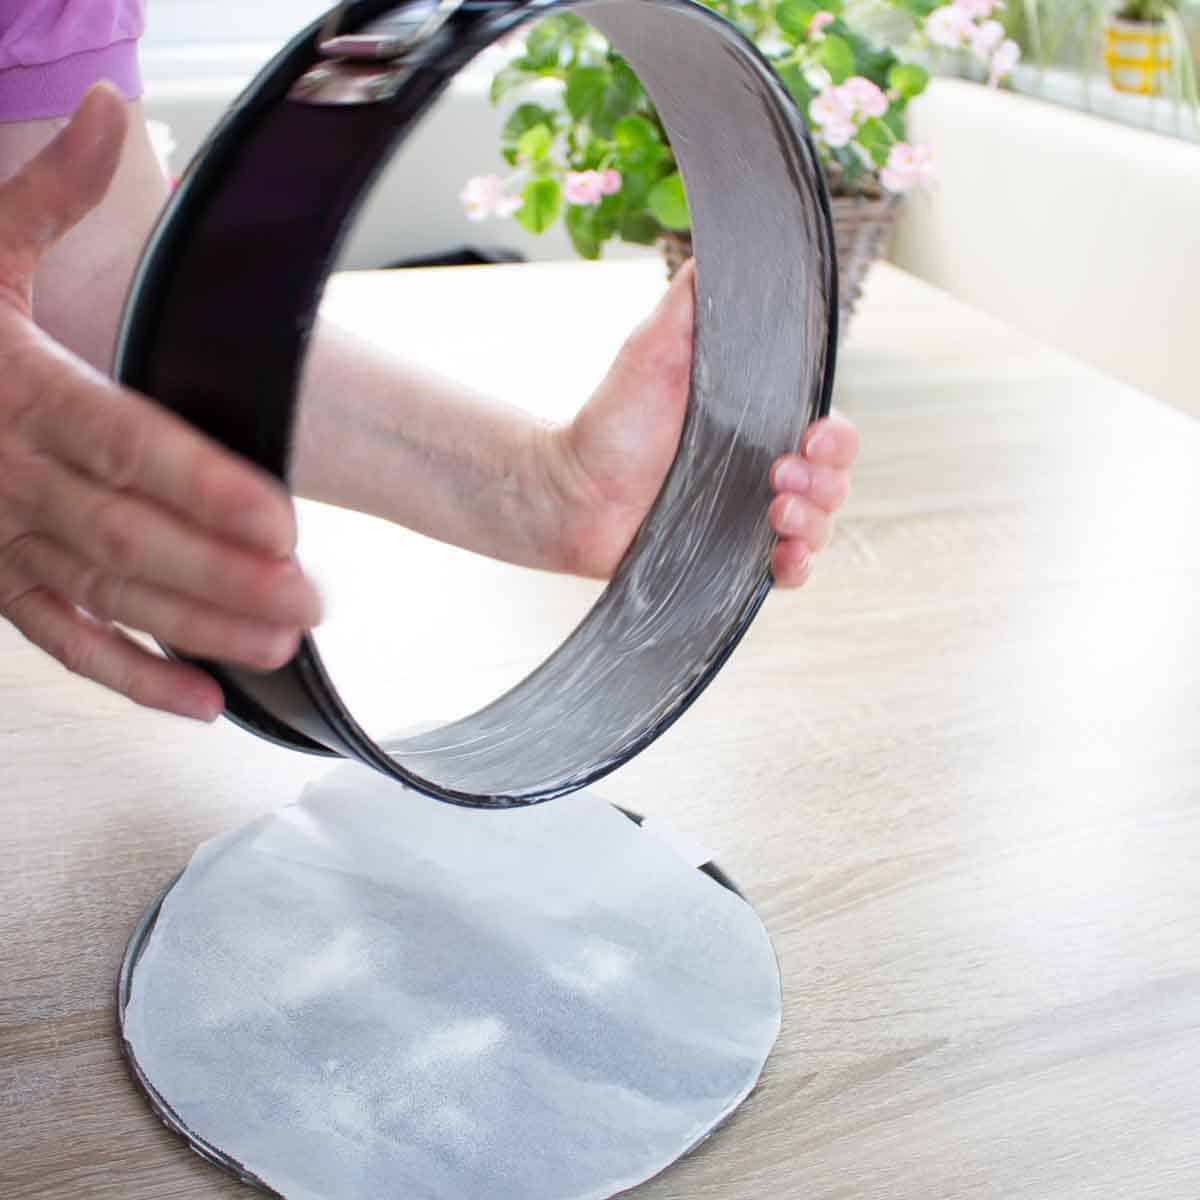
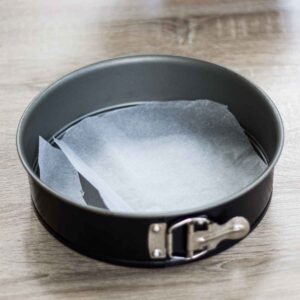
1. Grease and flour the cake tin
Cut baking paper the size of the cake pan and line the bottom of the pan with it. If no baking paper is at hand, grease with butter and dust with flour.
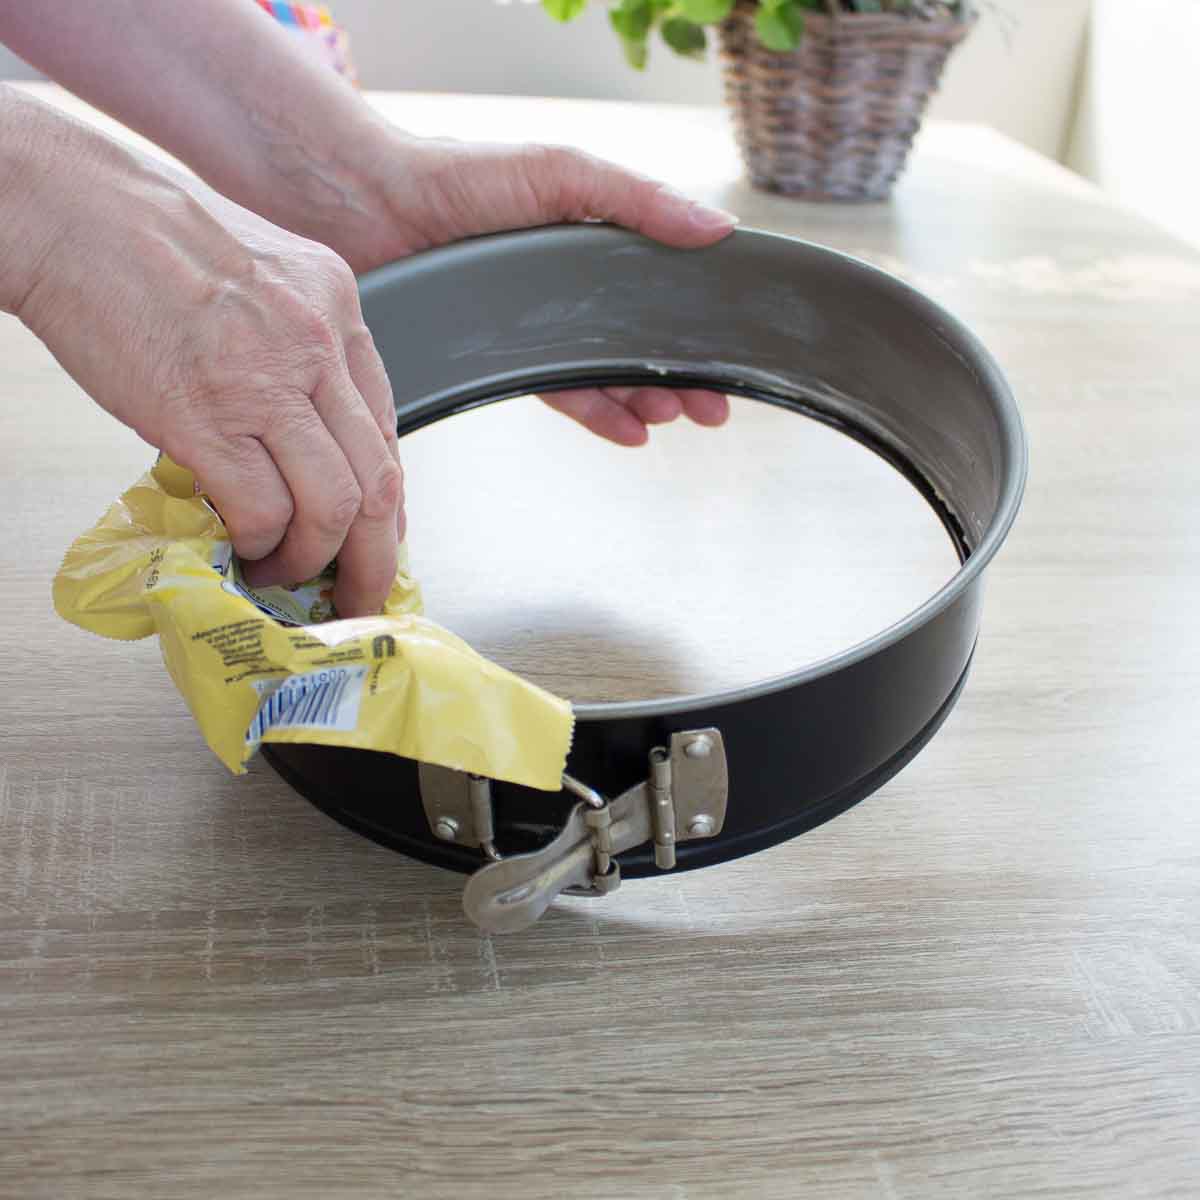
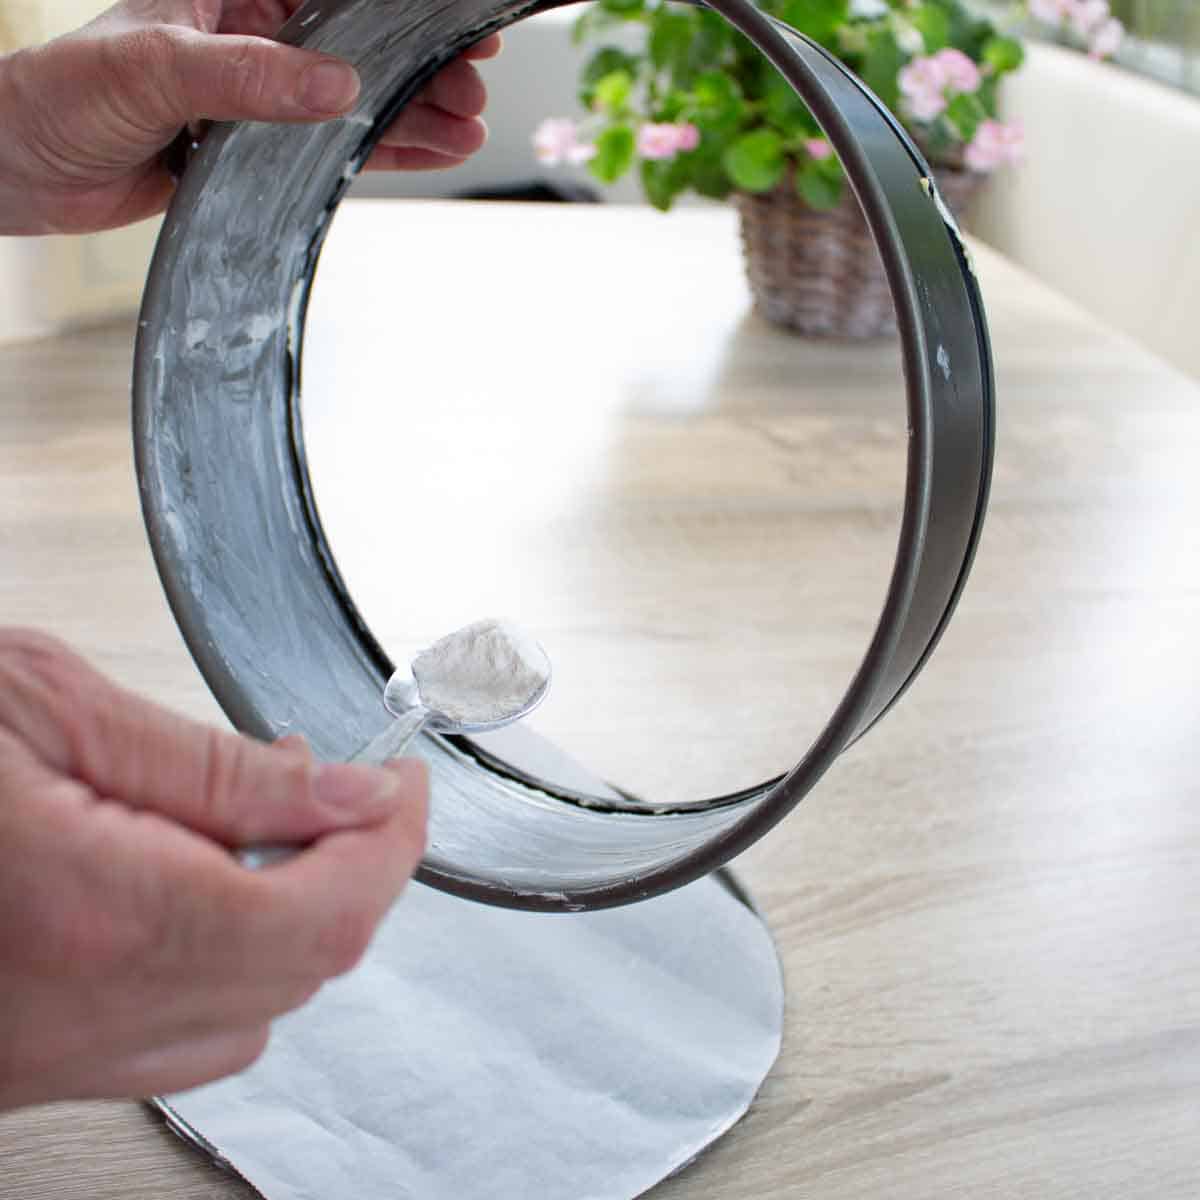
Grease the ring of the cake pan with butter and sprinkle with flour. To do this, take a spoonful of flour and sprinkle it on the greased cake ring. Then turn the cake ring with one hand and tap it lightly with the other hand so that the flour is distributed evenly.
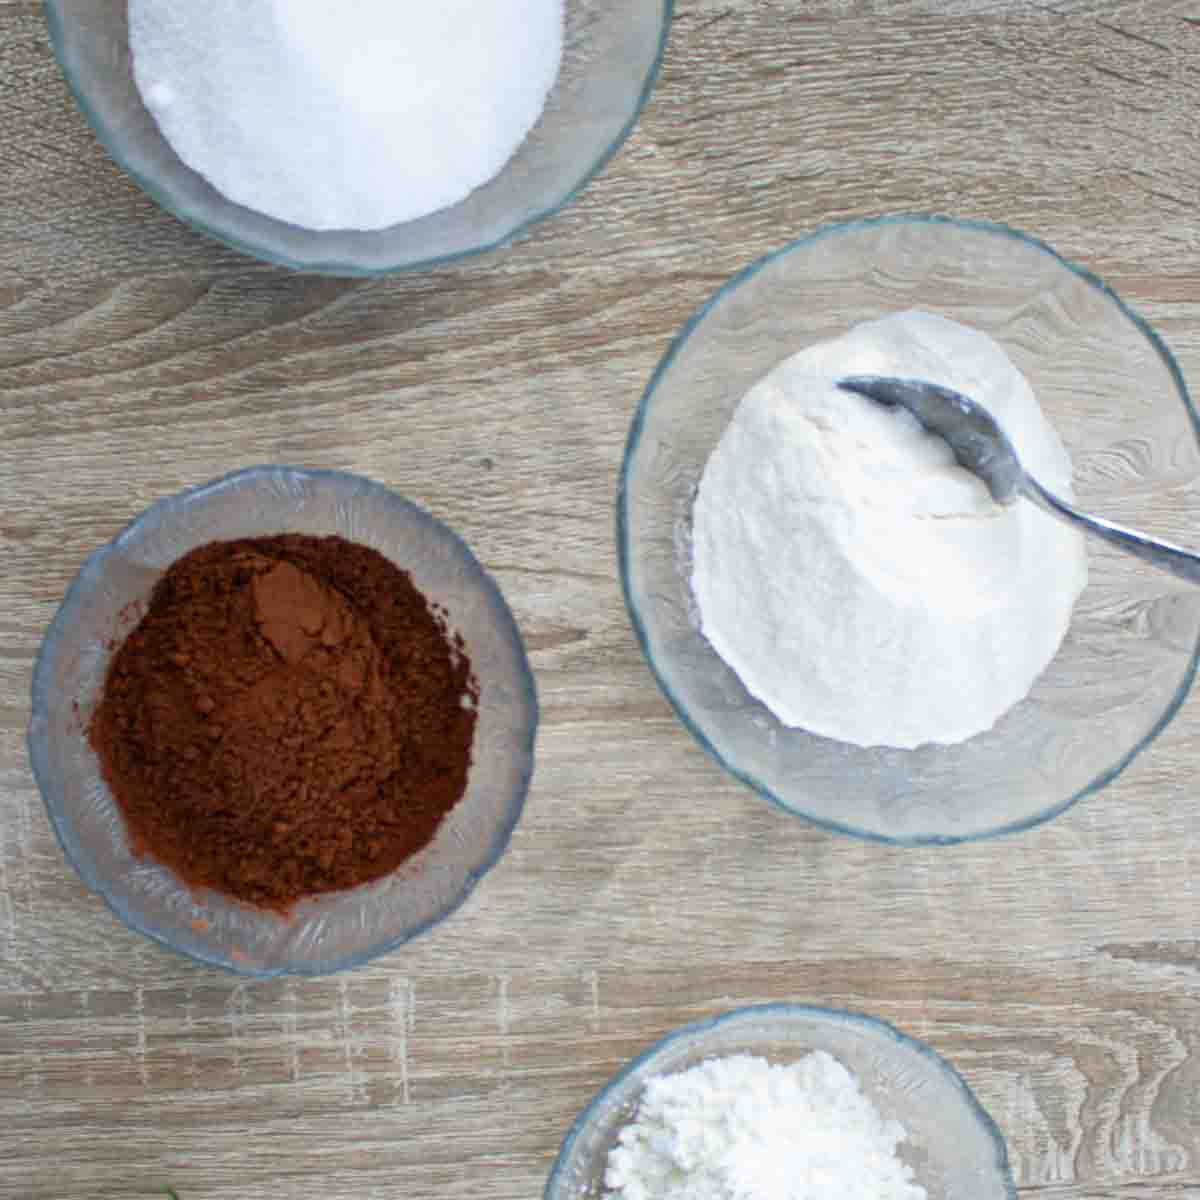
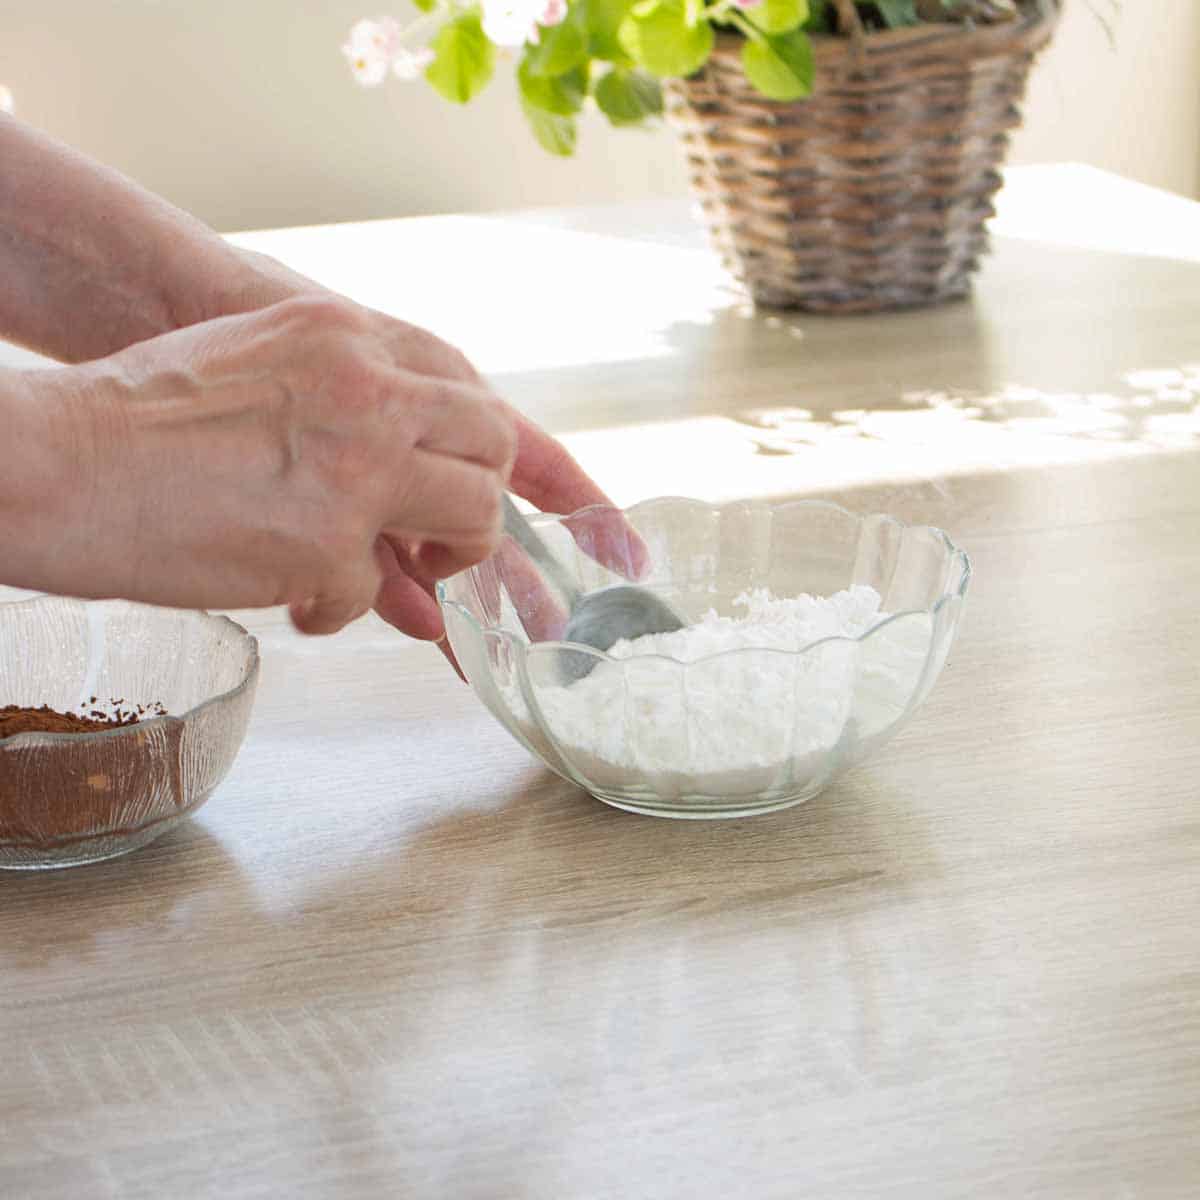
2. Weigh and sift ingredients
Weigh all ingredients for the dough and put into separate bowls.
Mix the flour with the cornstarch.
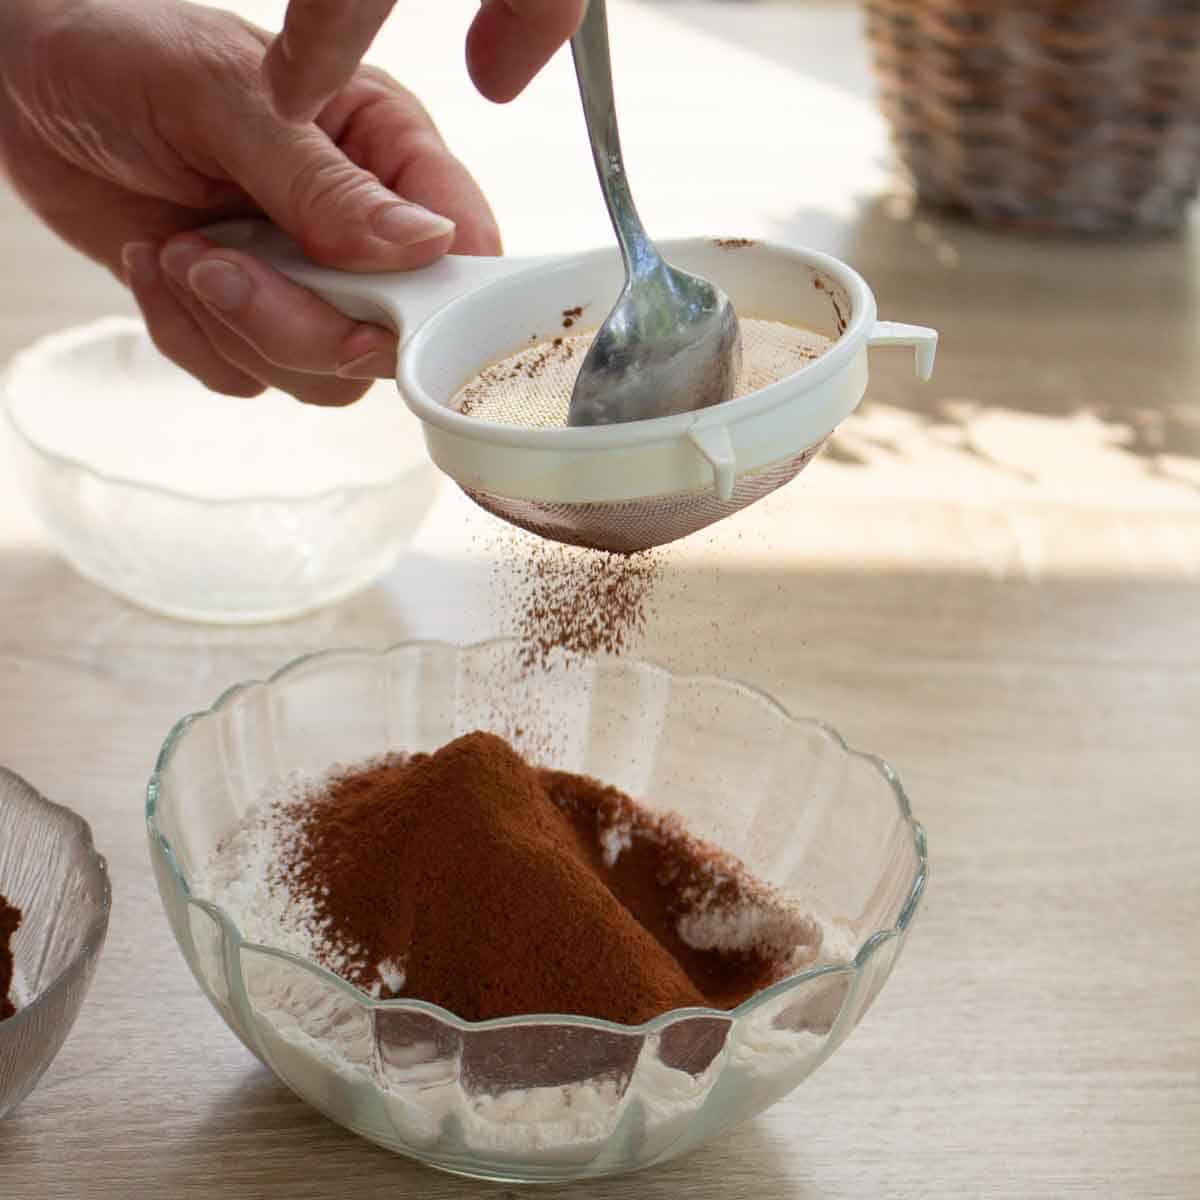
Sift the cocoa over it and mix with the flour and cornstarch.
3. Preheat oven
Preheat oven to 360 °F (~180°C). For electric ovens, top and bottom heat. By using top and bottom heat instead of convection, the cake batter will not dry out as easily and will be juicier.
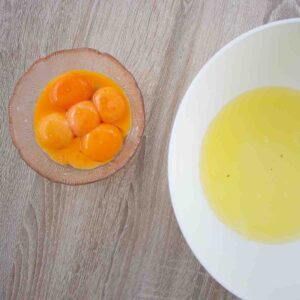
4. Separate eggs and beat egg whites
Separate egg yolks from whites and set aside in separate bowls.
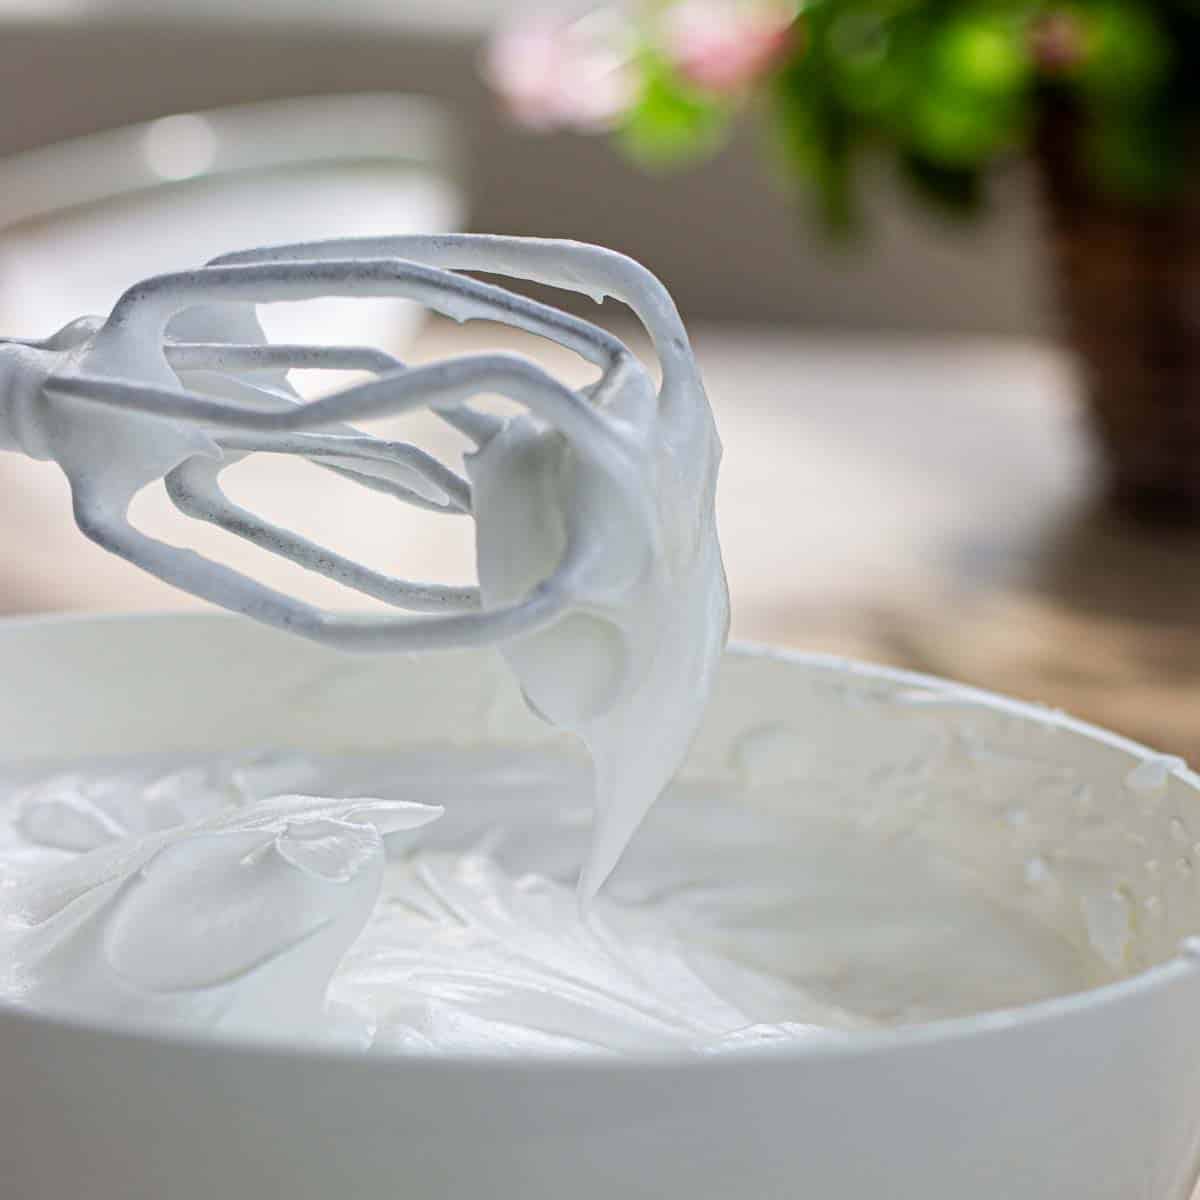
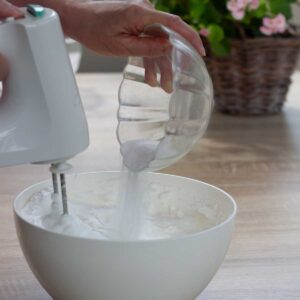
Add 8 tablespoons of water to the egg whites and beat with a mixer until very stiff.


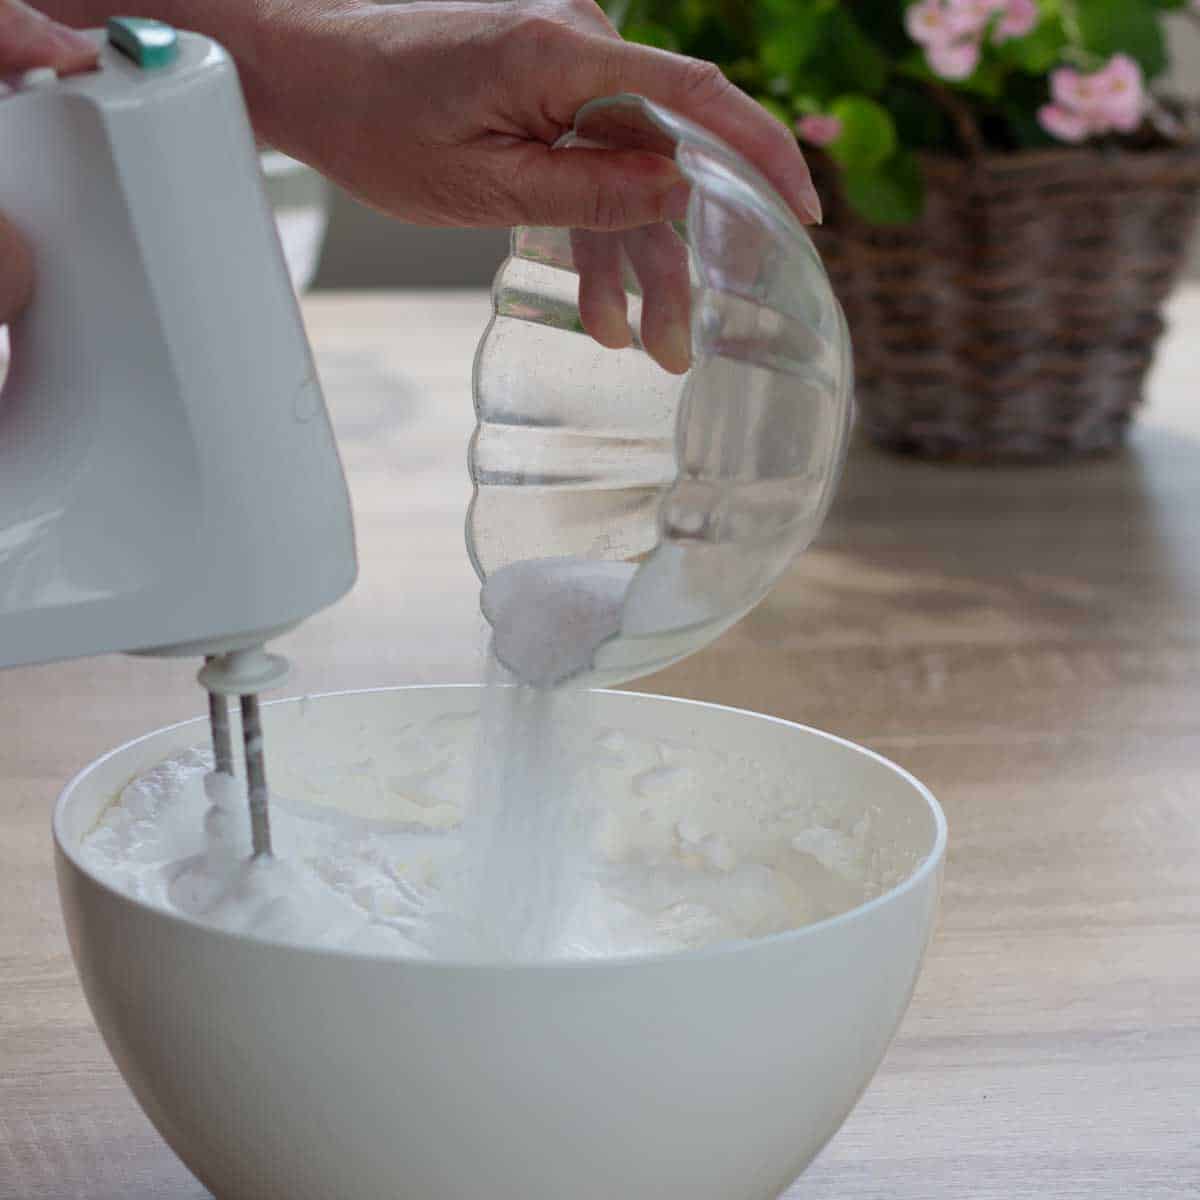
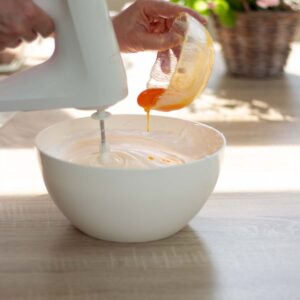
5. Mix in sugar and yolks
Mix the weighed sugar to the egg whites.
Bit by bit, mix in the egg yolks.

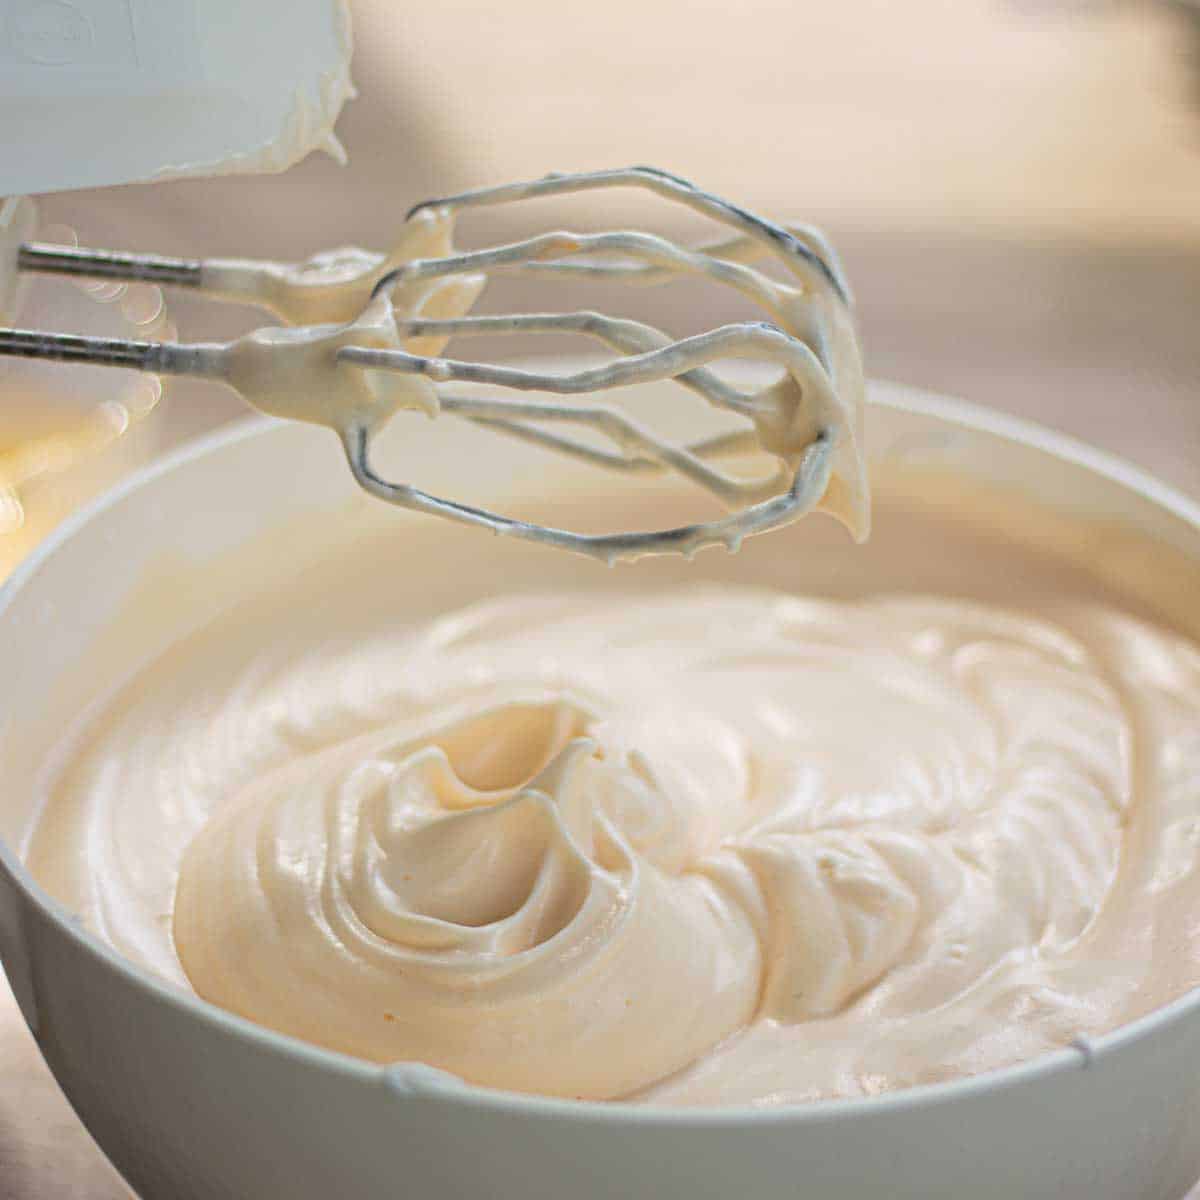
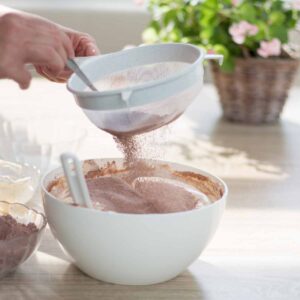
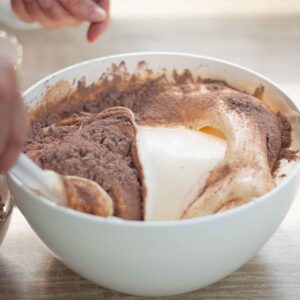
6. Fold in the cocoa and flour
Gradually add the cocoa-flour-cornstarch mixture (again, using the sieve so it doesn't get crumbly).
Don't use the mixer, but rather just fold in with a spoon, cake spatula or the like.
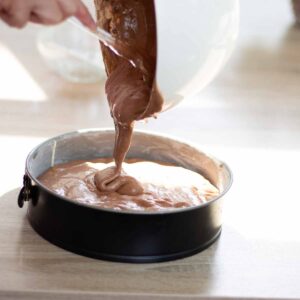
The dough is ready! Now you can already fill it into the prepared cake tin.


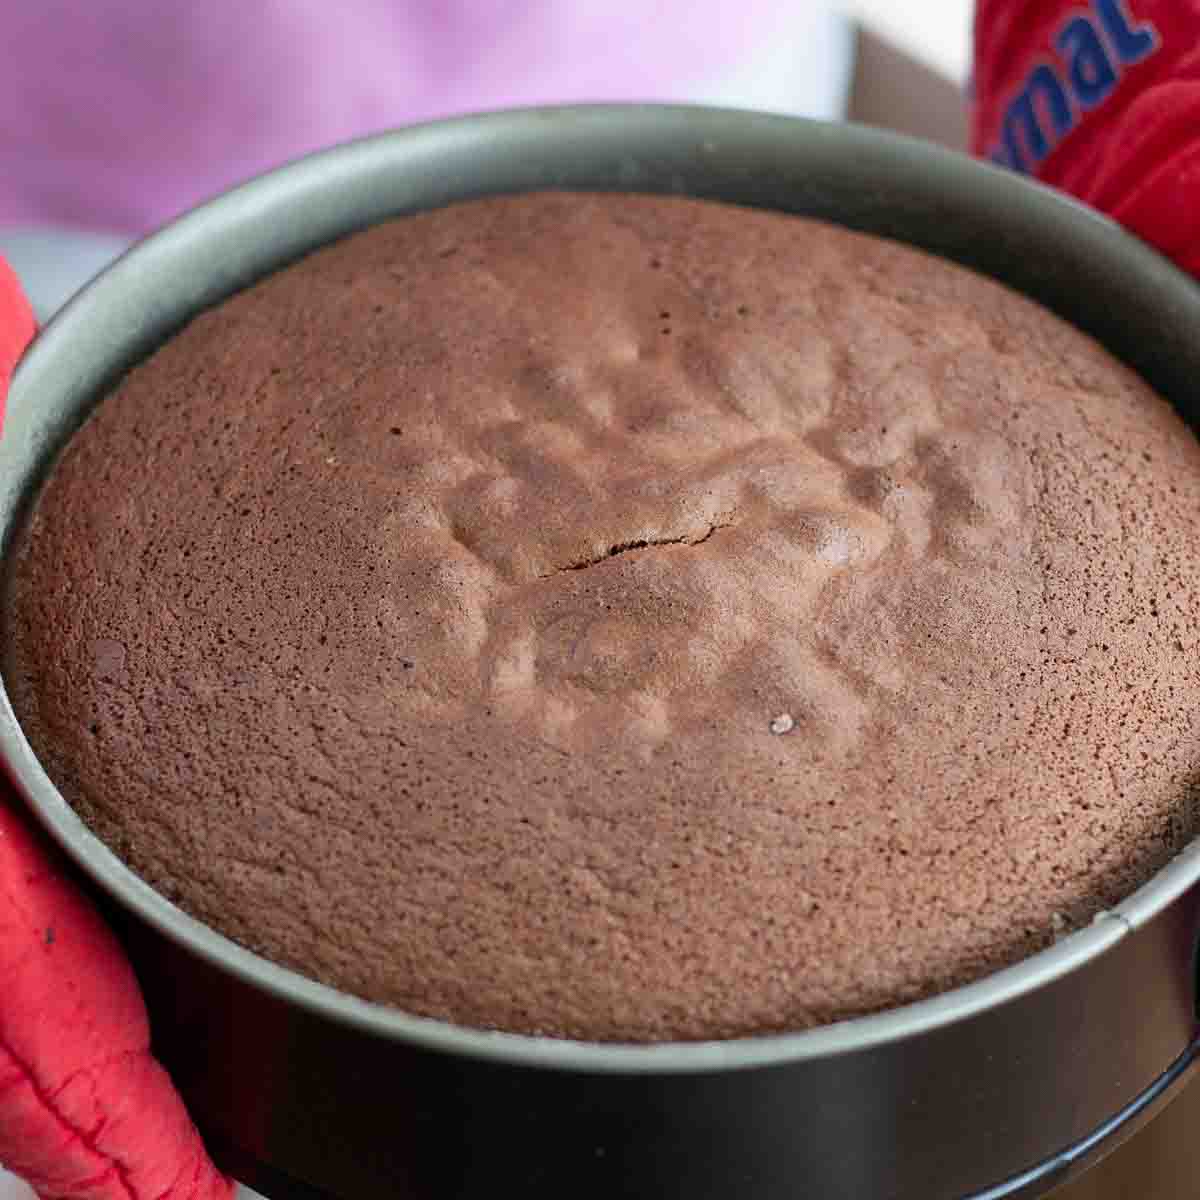
7. Bake Black Forest Cake
Bake the cake in a heated oven at 360 °F (~180°C) for about 40 minutes.
Because every oven is different, the baking time can vary, depending also on the size of the cake pan.
Caution: do not open the oven door too early so that the dough does not collapse.
If the dough is already dark after about 30 minutes, reduce the heat a little. To check if the dough is ready, poke the center of the dough with a skewer. If there is still dough sticking to the skewer, the cake will take longer. Once nothing is sticking anymore, the dough is done. Turn off the heat and leave it in the oven for a few more minutes. This will also prevent it from collapsing. Then remove from the oven.
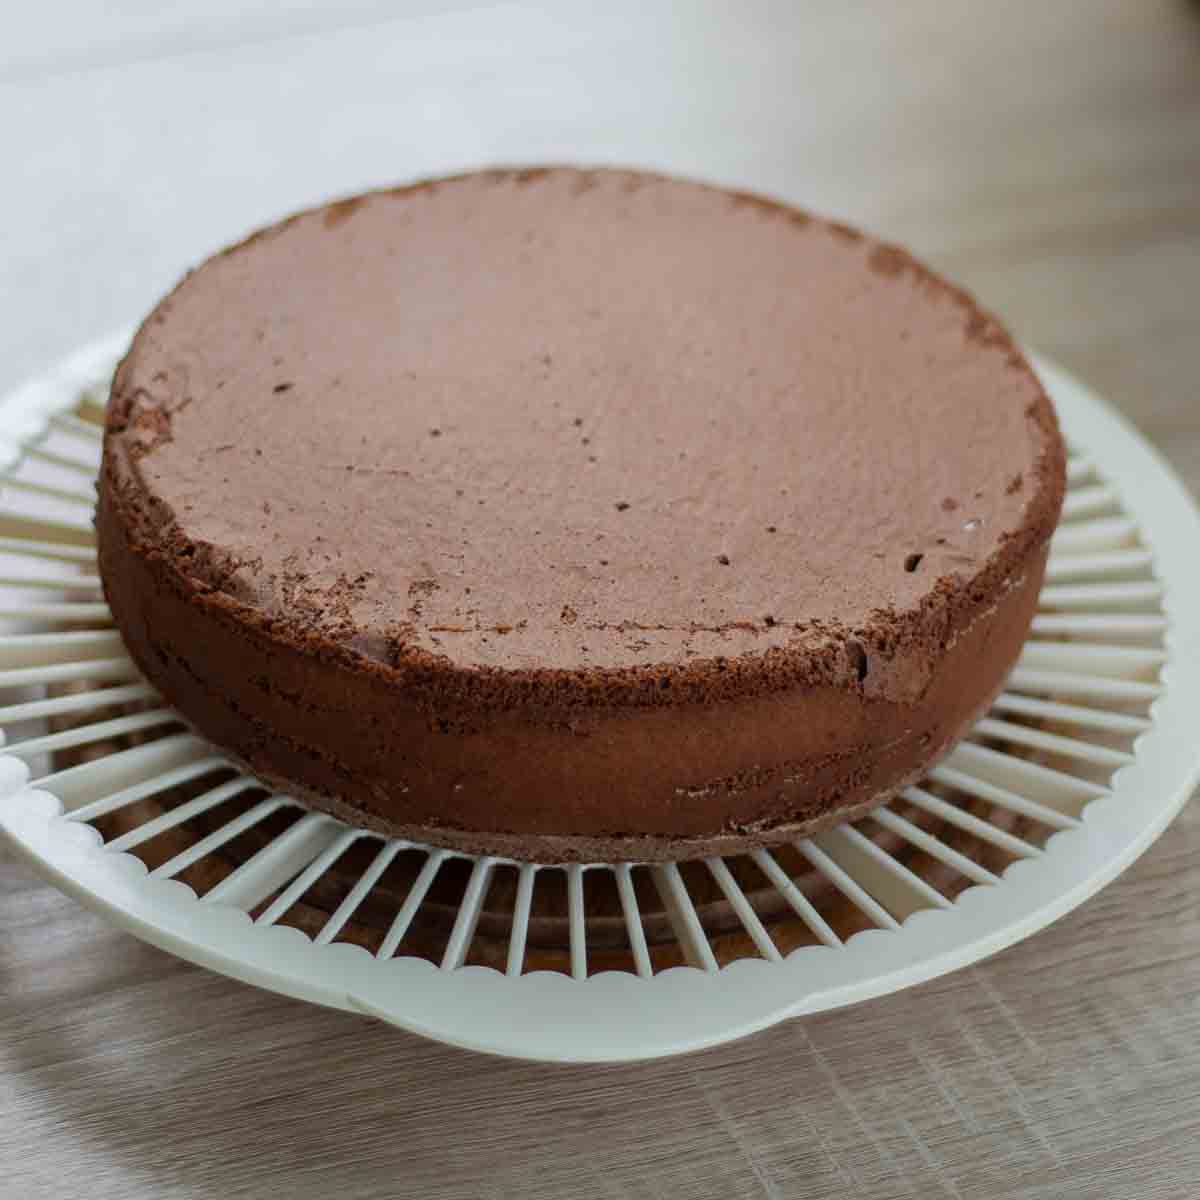
8. Let cake cool down
Cover the cake pan with a cake rack or a large plate and turn the entire cake upside down so that the straight BOTTOM is now ON TOP.
Cooling it on a cake rack will make the cake more even because it will cool evenly on all sides.
Let cool for a few hours or overnight (in this case, cover so it doesn't dry out).
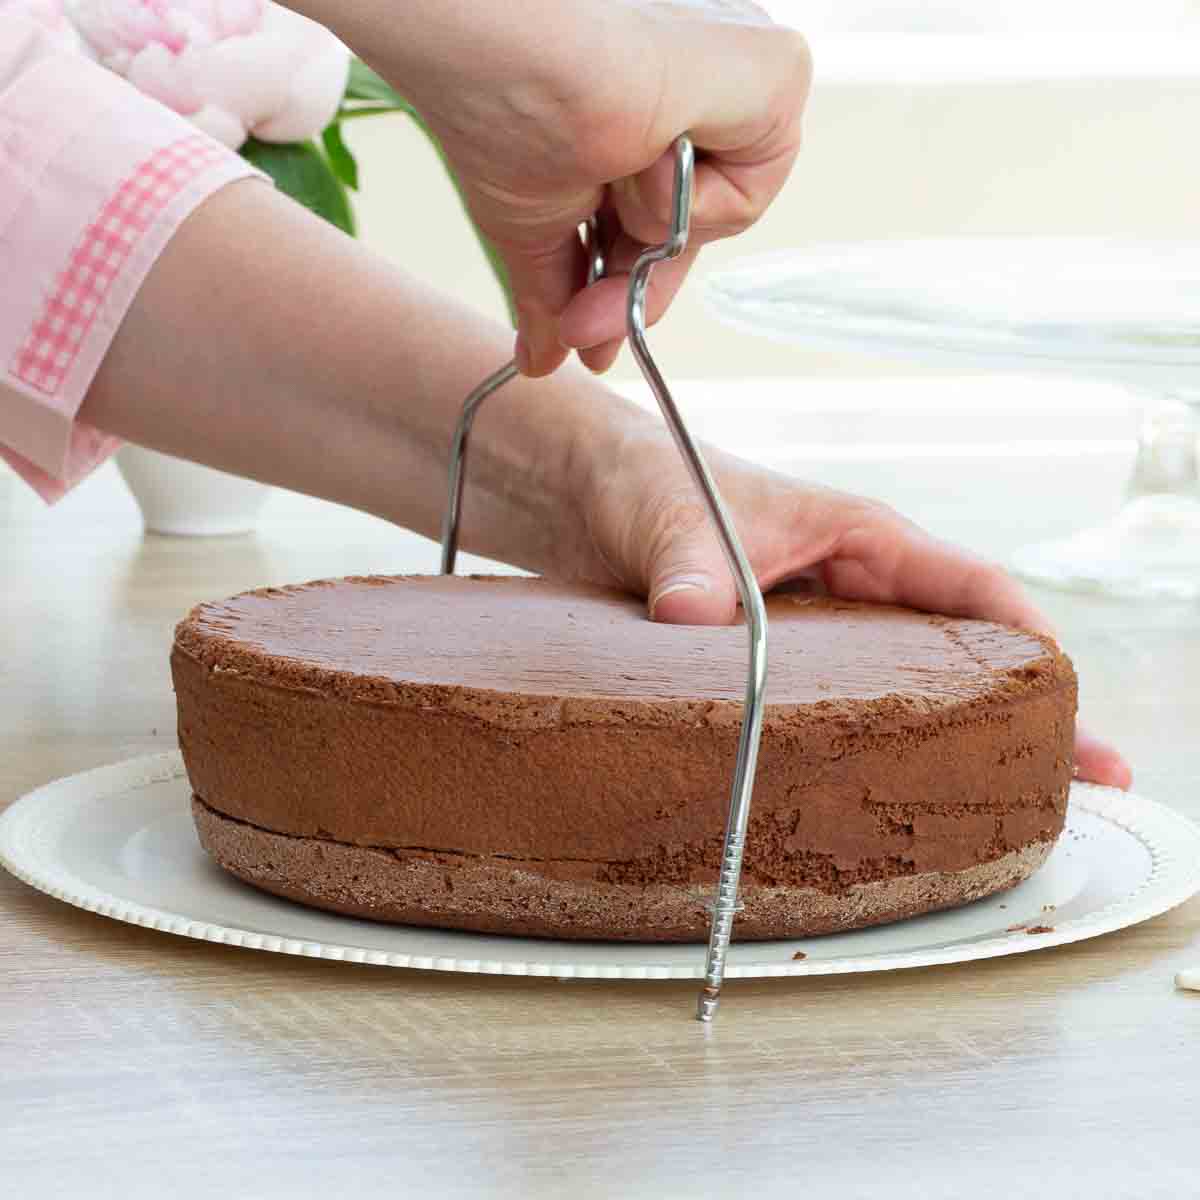
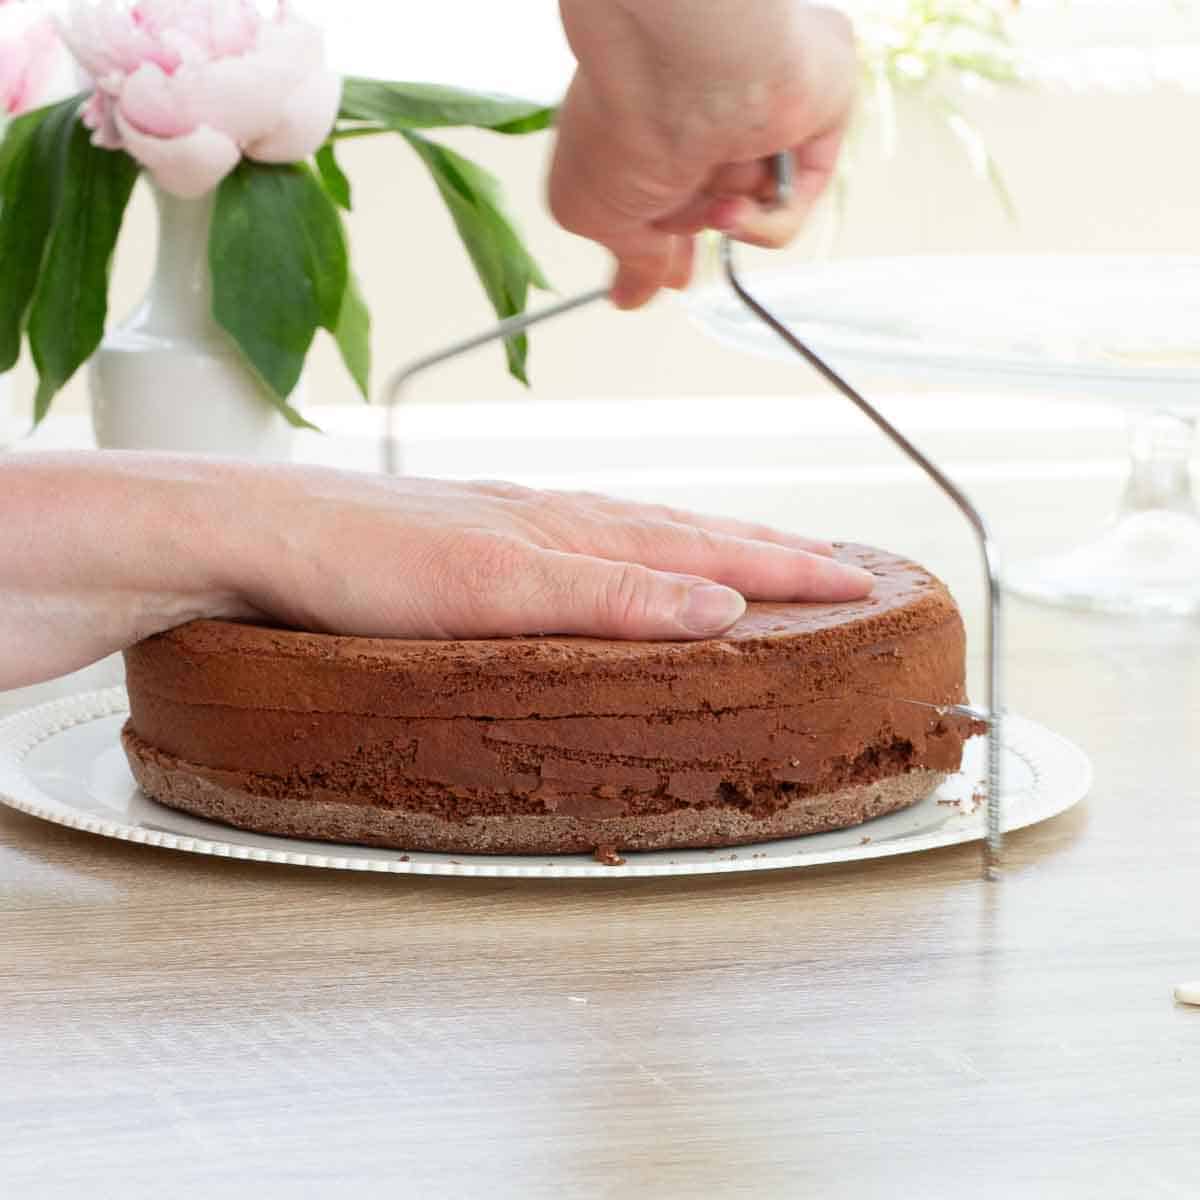
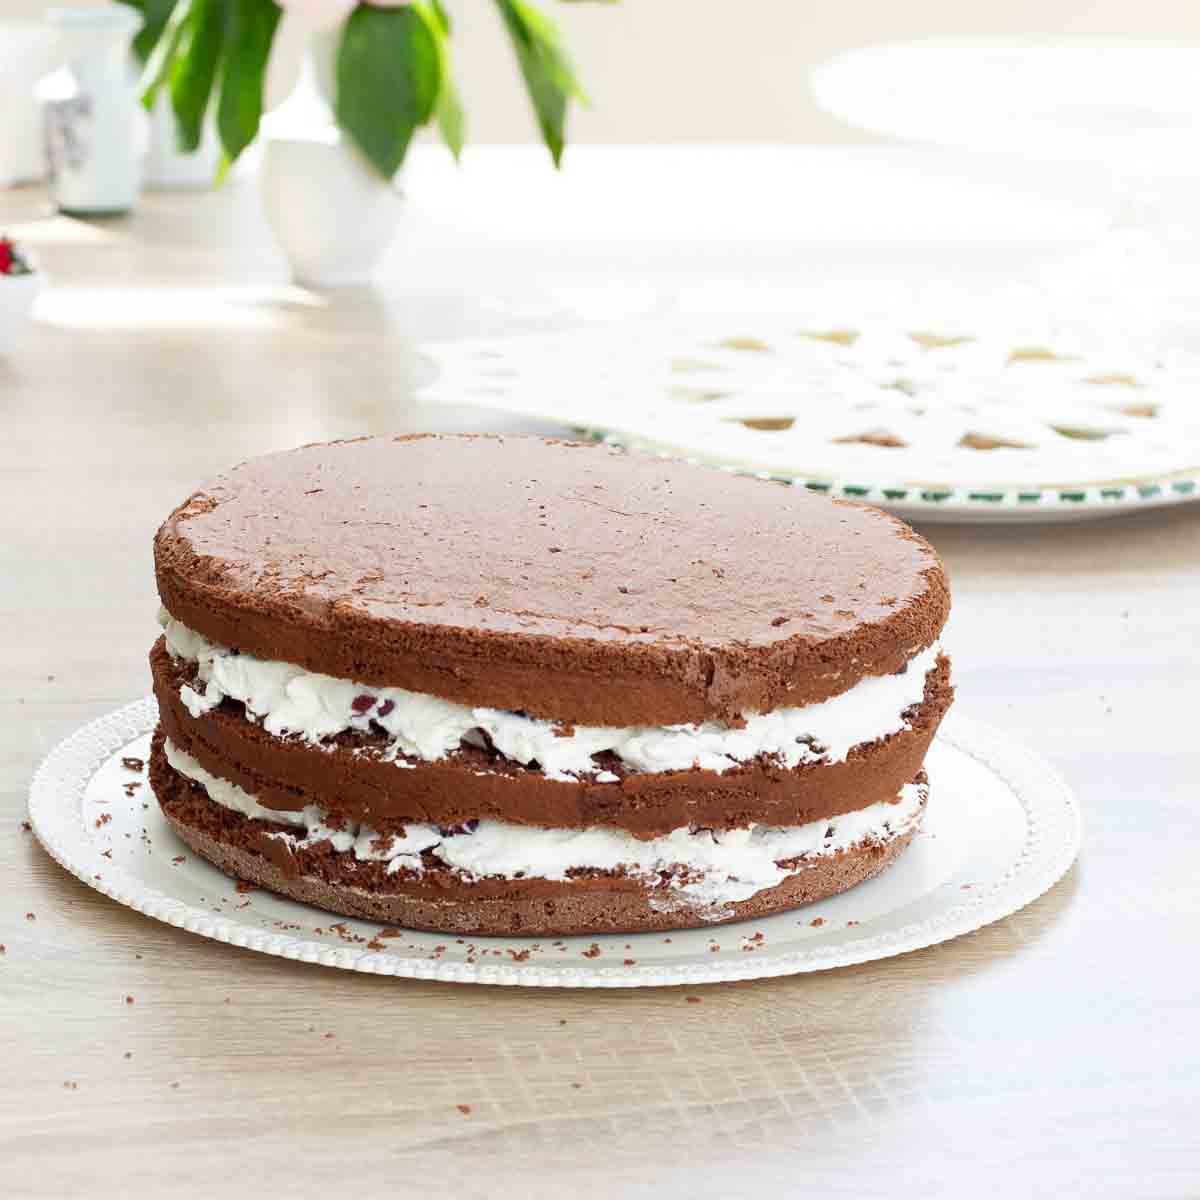
9. Cut the Black Forest cake into 3 layers.
When the cake has cooled, cut it into 3 layers with a cake cutter. If no cake cutter is at hand, a knife also works, but with it the layers will not be as even.
Before you start to fill the first layer, use a cake lifter or large plate to lift down the top two layers.

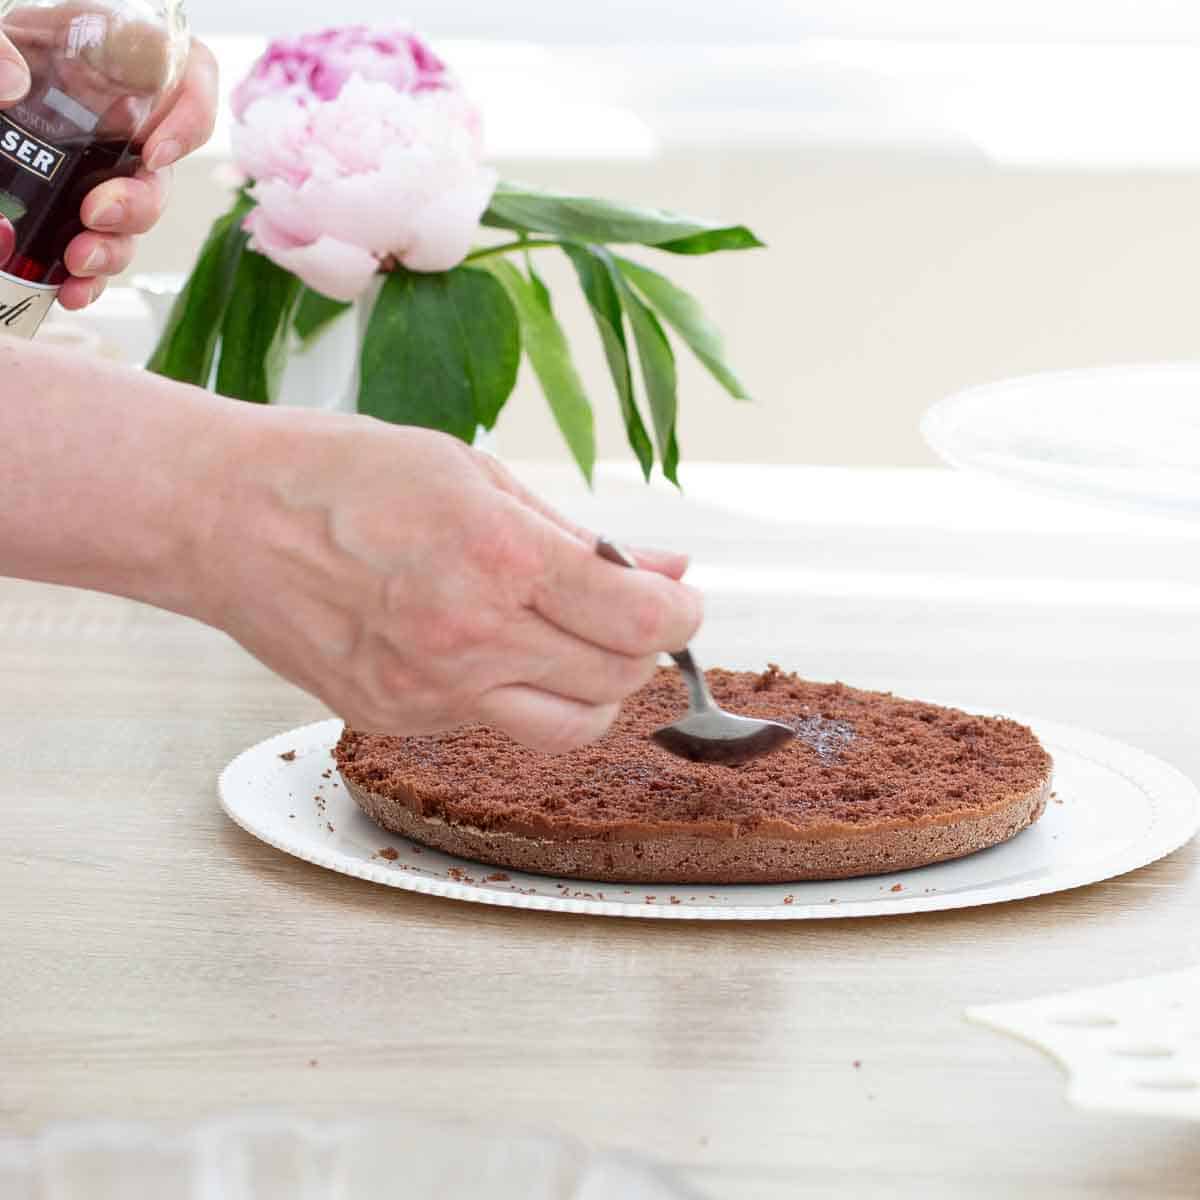
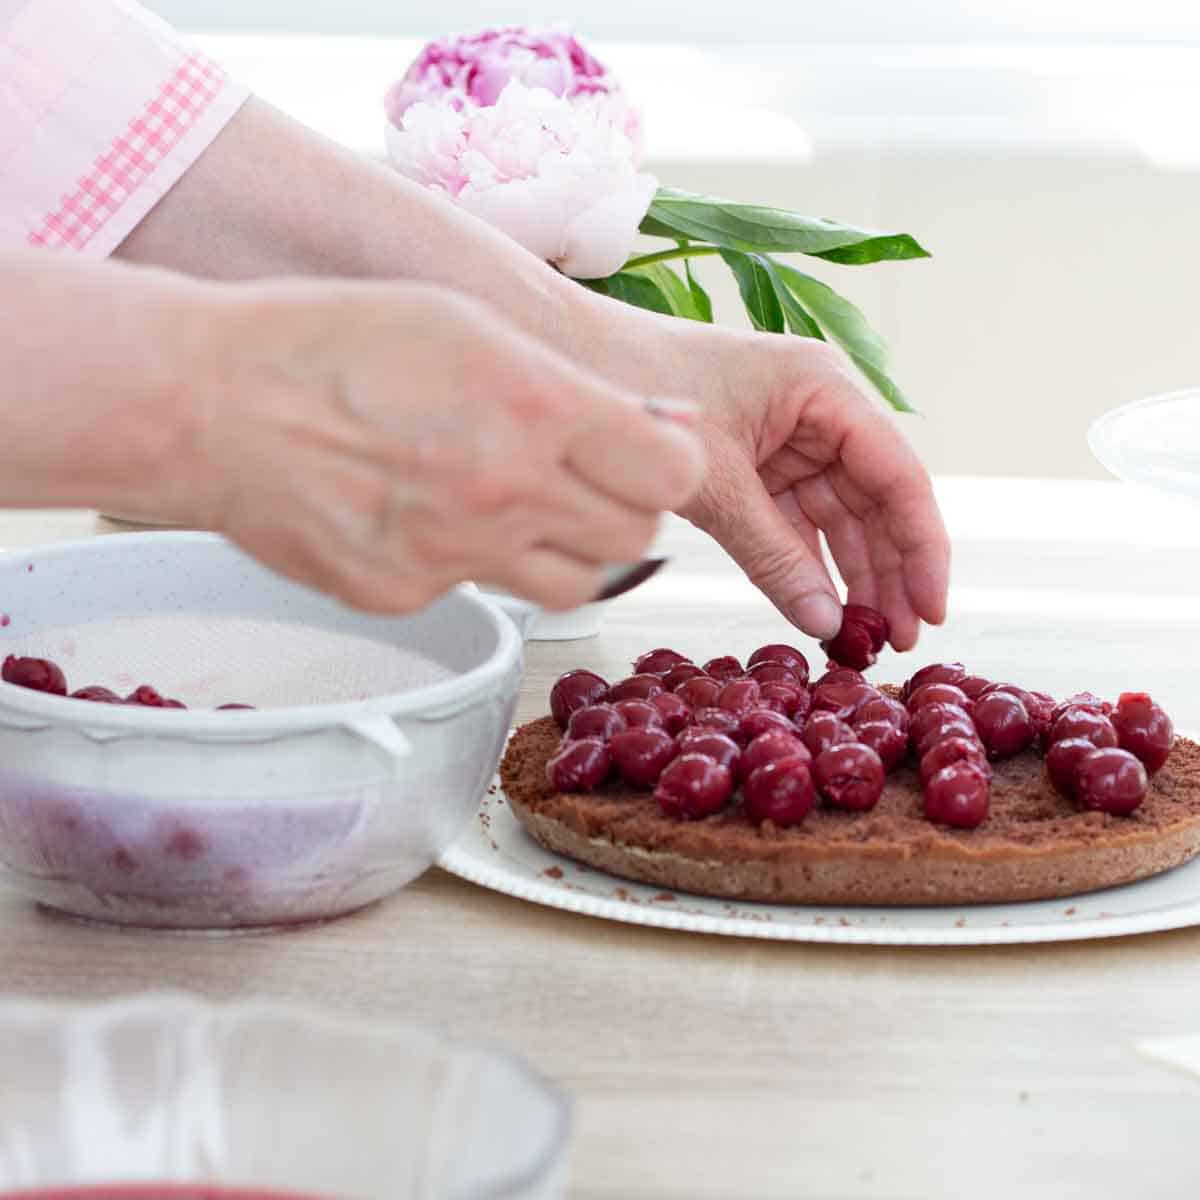
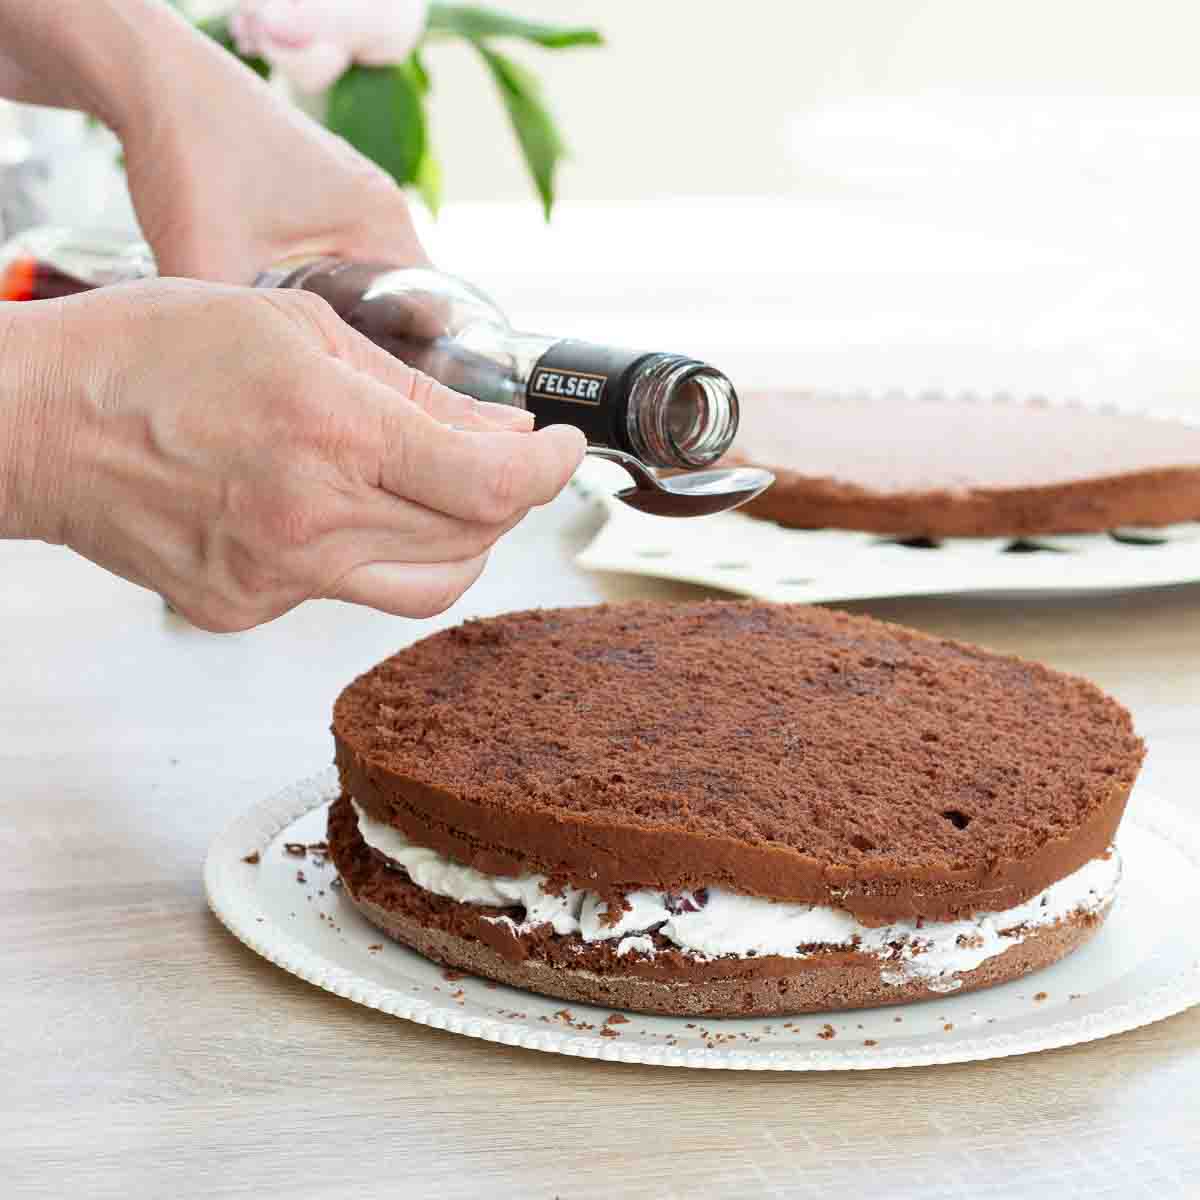
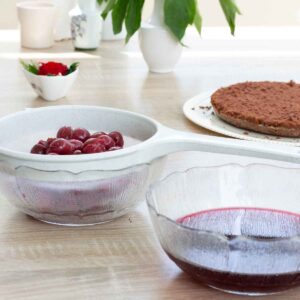
10. Drizzle with Kirsch and top with cherries.
Drain the canned sour cherries through a sieve. Collect the juice in a bowl.
Now drizzle the bottom cake layer with Kirsch (cherry brandy/liqueur/schnapps) and/or the juice of the canned cherries. About 10-15 tablespoons per layer. The layer should get lots of the cherry flavor, but also not be drowned.
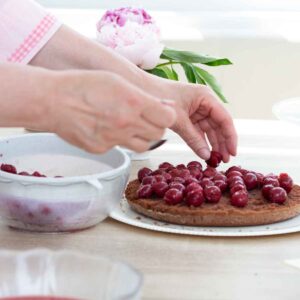
Spread the sour cherries evenly on the bottom layer.

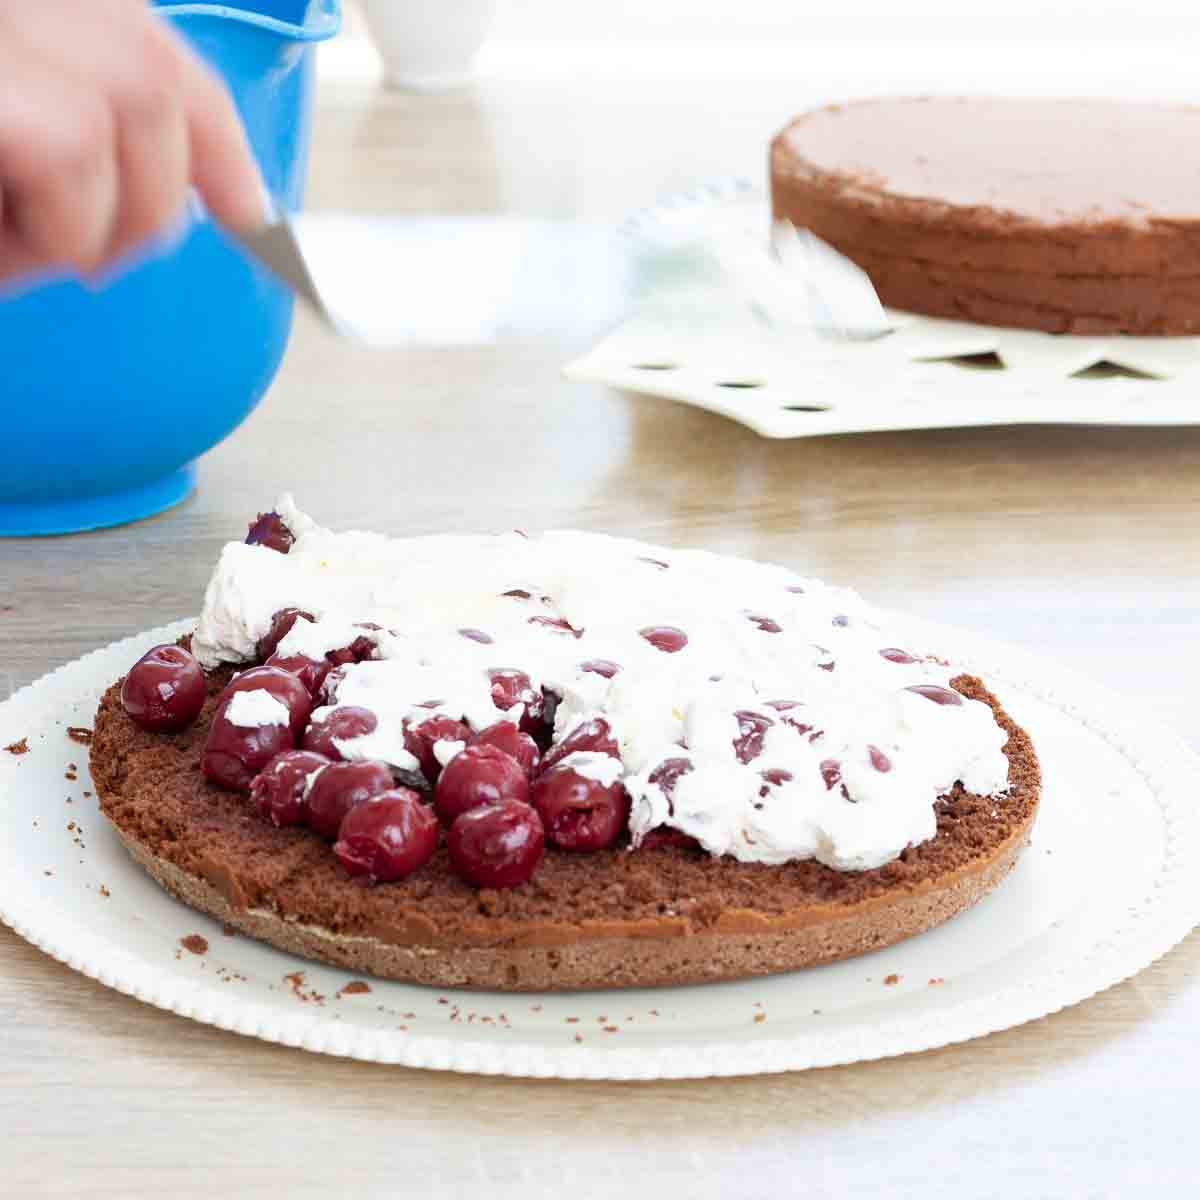
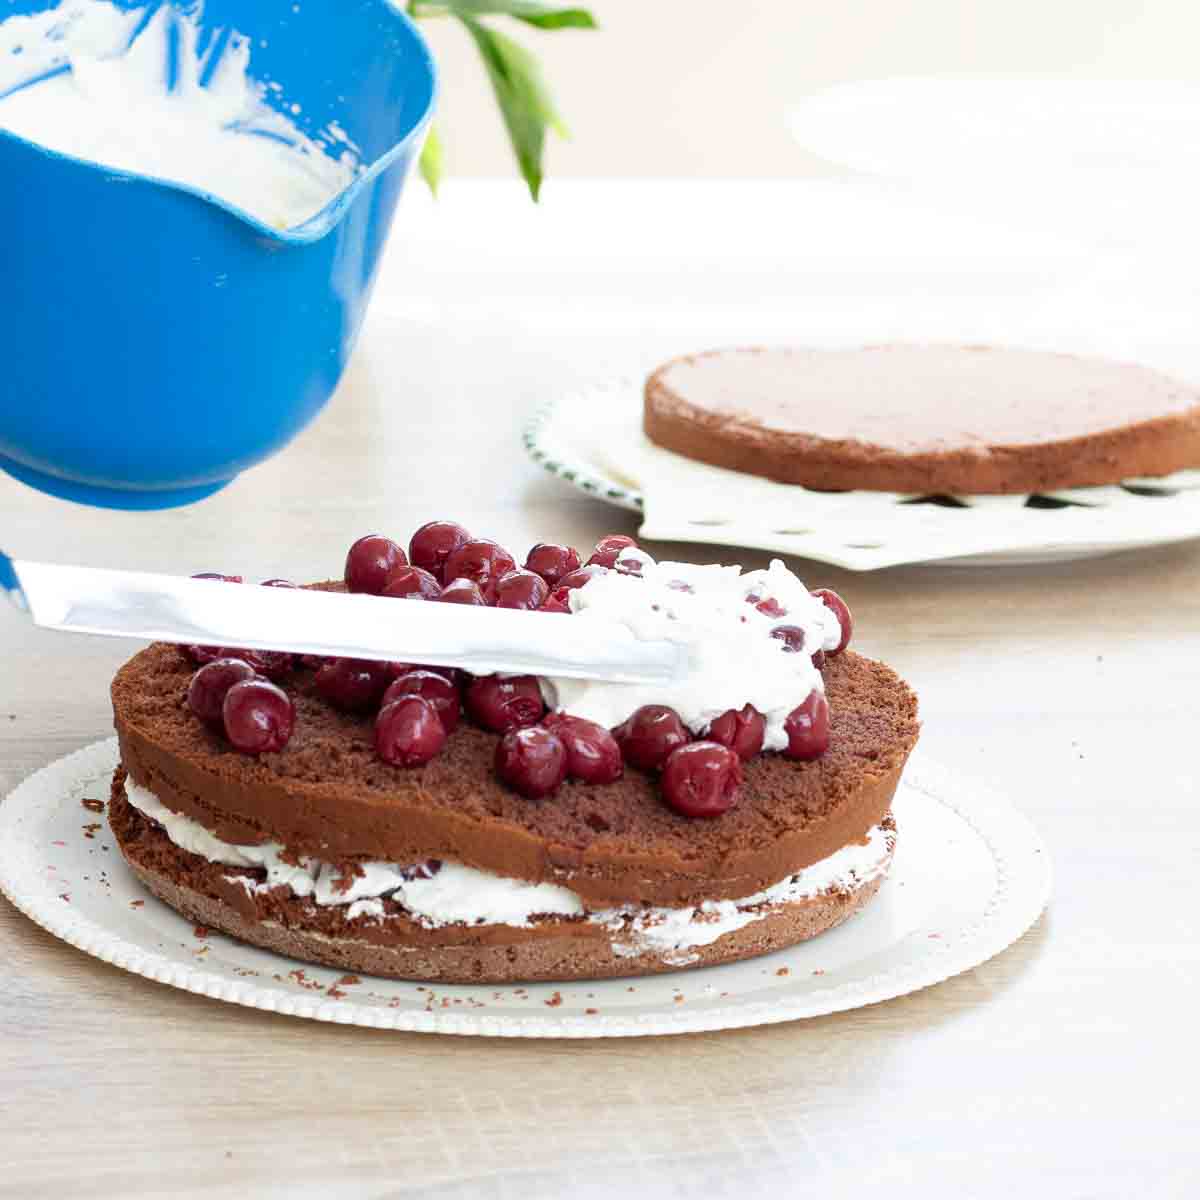
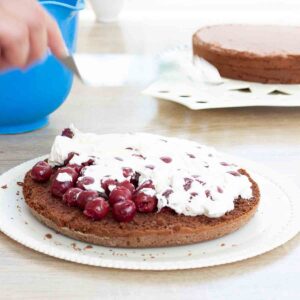
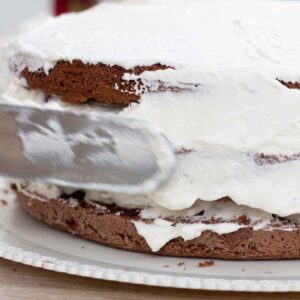
11. Spread layers with whipped cream
Using a mixer, whip the half-liter of whipped cream until stiff and spread about a quarter of the cream (i.e. 125ml) on the layer.
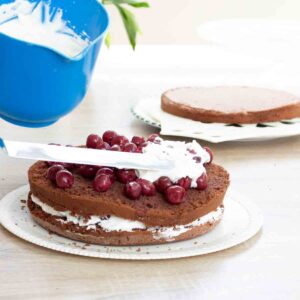
Repeat the same with the middle layer: carefully lift onto the bottom layer (with the help of the cake rack/plate); drizzle with cherry liqueur/cherry juice, top with cherries and spread with about another quarter of the whipped cream.
12. Add cream on top & sides (& optional currant jelly).
Now carefully lift the remaining layer on top.
You can, if you like, now spread a thin layer of currant jelly (red currant jelly) on top and on the sides. This will make the cake more moist.
Spread another quarter of the whipped cream on top and on the sides.

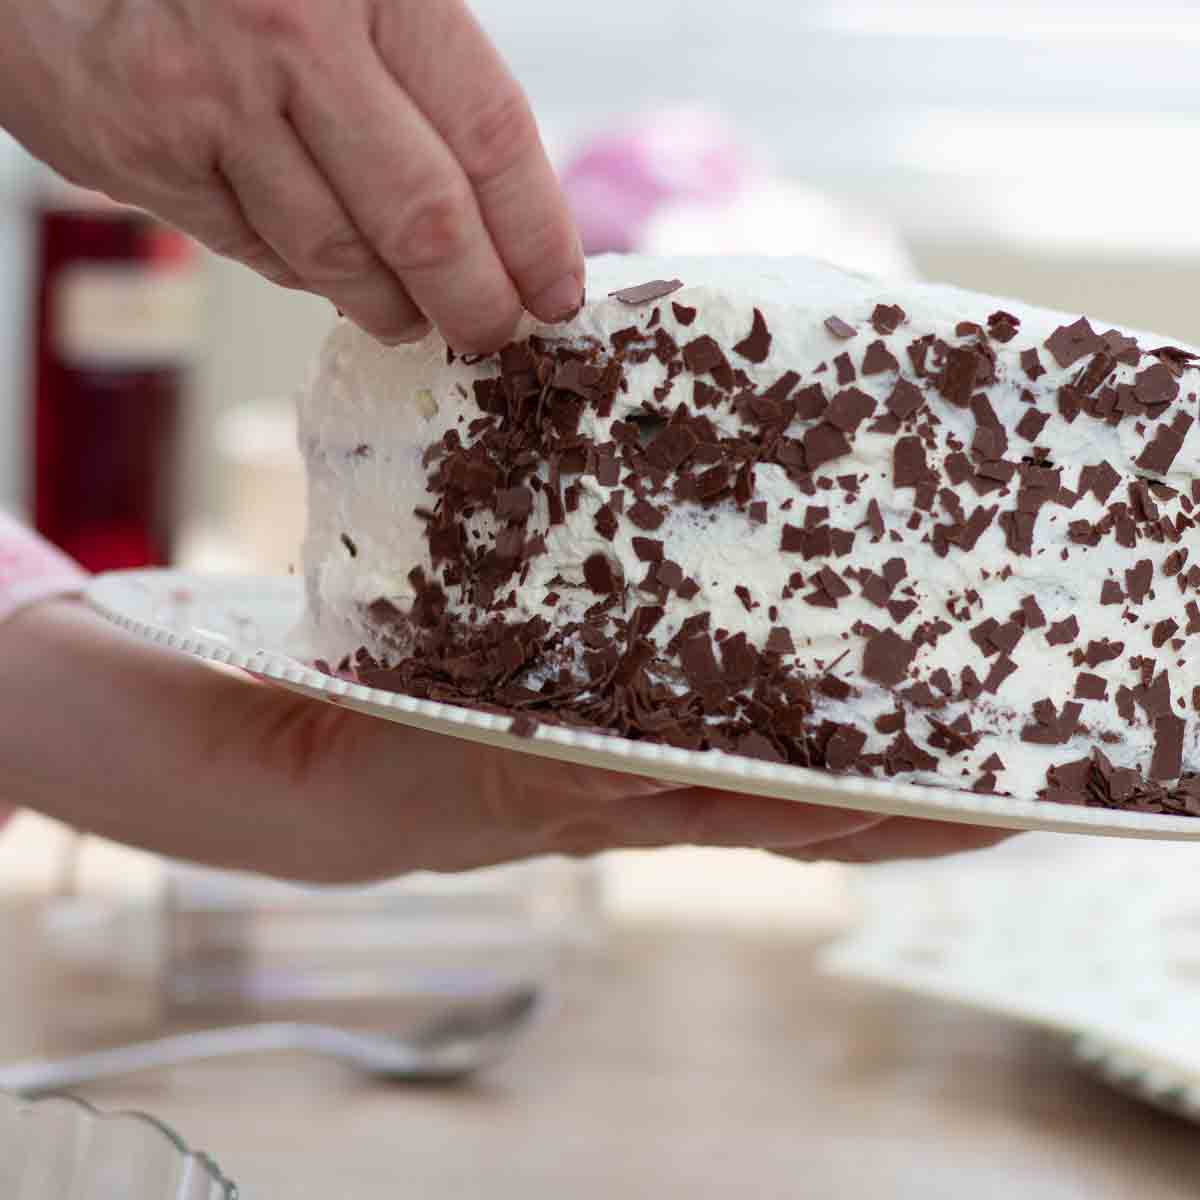
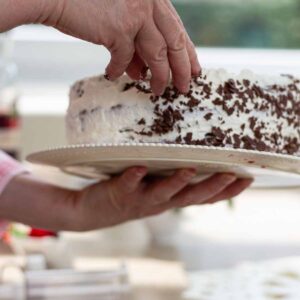
13. How do i get chocolate sprinkles on the black forest cake?
To distribute the chocolate shavings evenly on the edge of the cake, take the cake on the cake lifter or plate in one hand. In the other hand, take the chocolate sprinkles and sprinkle them on the sides of the cake.
Hold the cake a little askew (but not too much), so that the sprinkles can be distributed more evenly.
Finally, sprinkle the top evenly with chocolate shavings.

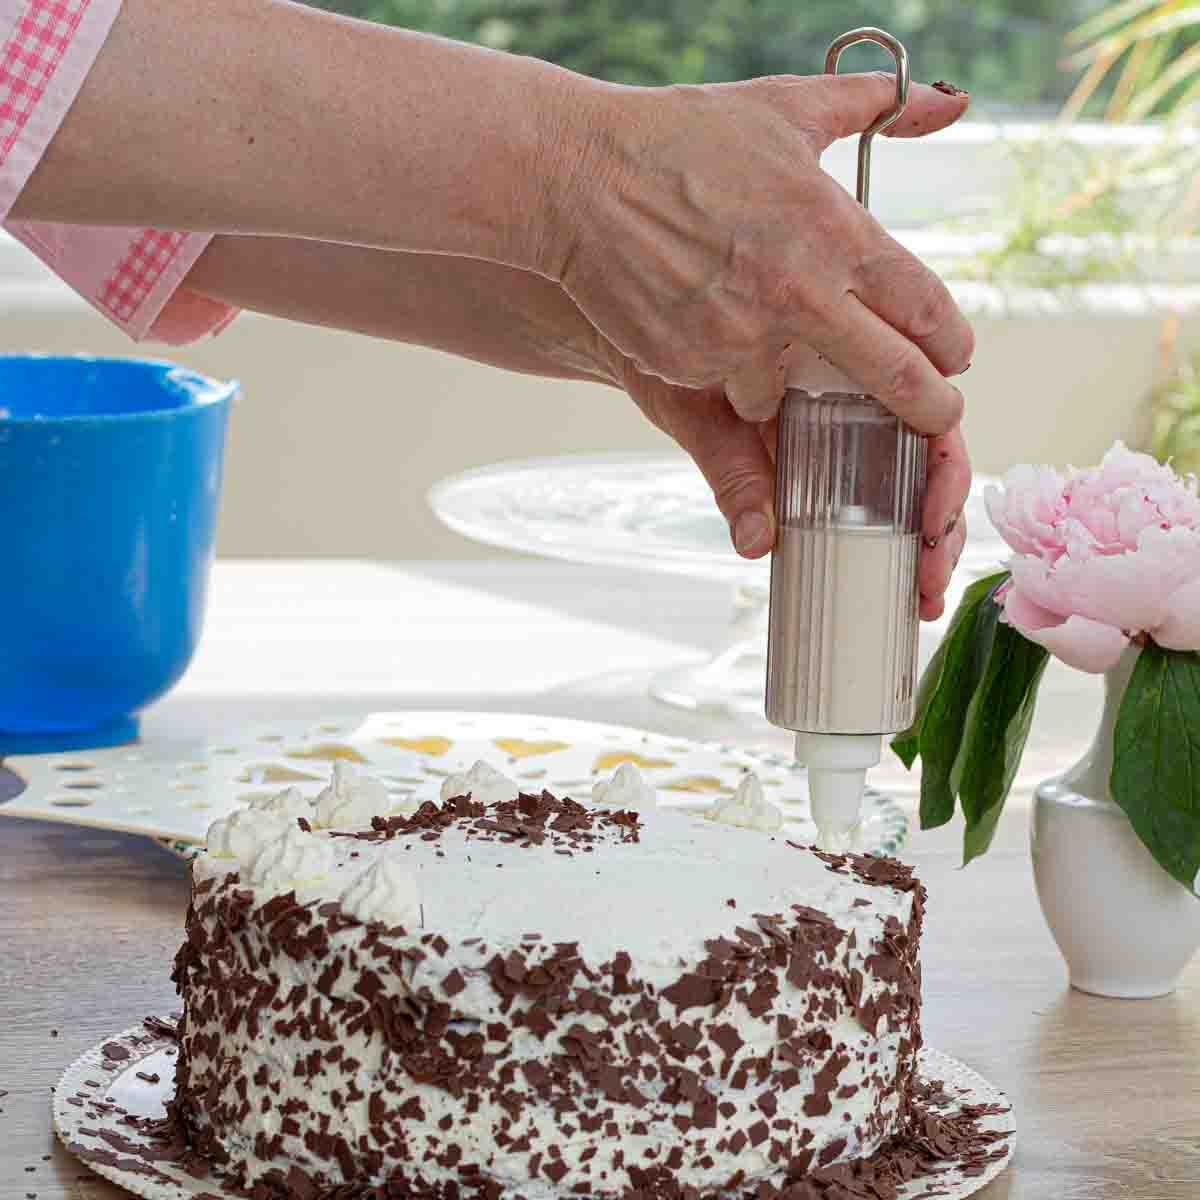
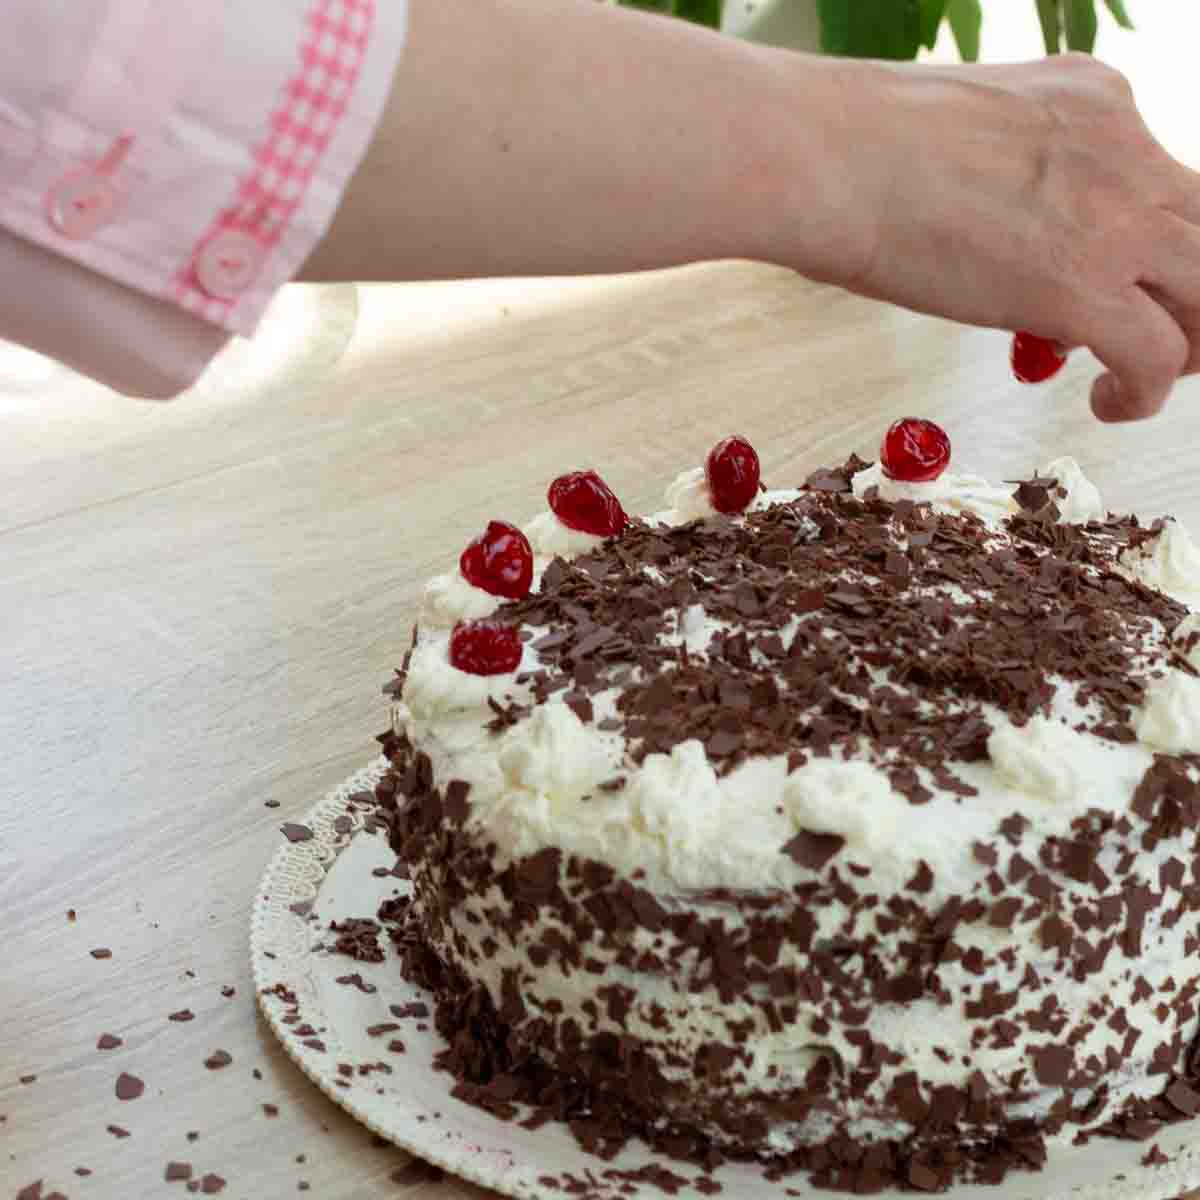
14. Decorate the black forest cake
Now place about 12 to 16 small dots of whipped cream at the edge of the cake. For this, it is best to use a cake syringe or a piping bag with star tipped piping nozzle. If you don't have this at home, take a small plastic bag, fill it with the whipped cream and cut a small hole in the corner.
Place a candied cherry (or sour cherry) on each dollop of cream and you have finished your masterpiece!
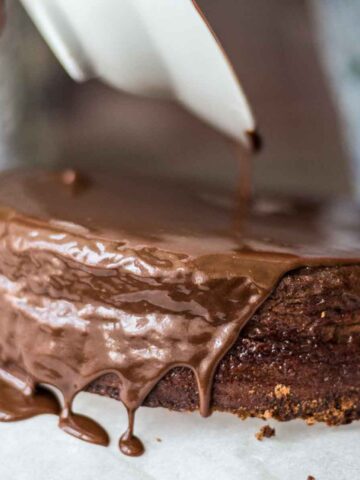
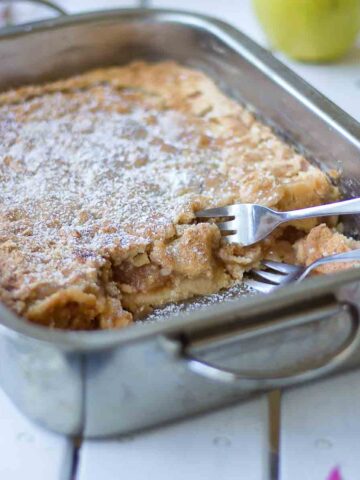
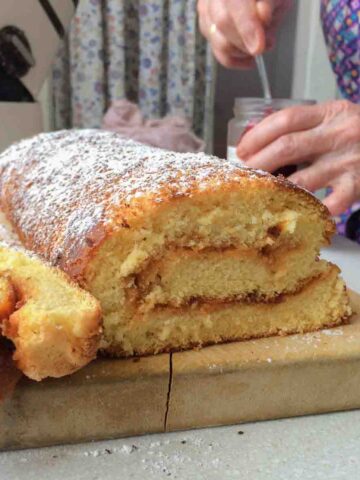
Maybe, you'll also like:

Equipment
The following equipment is needed for the cake. If you don't have one or the other kitchen tool at home, I will also present alternatives here.
- cake pan (springform), approx. 10 inches (25 cm) diameter
- Baking paper to line the cake pan - alternatively grease the cake pan with butter and sprinkle with flour
- Cake cutter - or long knife - there are different types of cake cutters available, for example with a wire, like in the pictures above in step 9 of the instructions.
- Cake rack - alternatively large plate or oven rack
- Cake lifter - very helpful to add the chocolate sprinkles and to safely separate the individual layers of the cake layer - alternatively use a large plate or a flat tray
- cake syringe (or piping bag, piping nozzle with star-shaped tip) - alternatively, a plastic bag of which you cut off the tip approx. ½ an inch (1 cm)
- a close-meshed sieve - for sieving the cocoa
- blender or kitchen machine
- bowls - lots of them, different sizes
Click here for more pastry and cake recipes
FAQ - Frequently asked questions
In this paragraph I have collected and answered the most frequently asked questions about the Black Forest Cake. If you have a question, I'm happy if you write a comment below the post. You are also welcome to send me an email: angelika@vienna-sunday.kitchen.
What alcohol is in the Black Forest cake?
The traditional Black Forest cake contains Kirschwasser ("Kirsch"), a clear brandy made from sweet cherries (also wild cherries or bird cherries). This alcohol is drizzled on the various layers of the cake to give it its characteristic flavor.
Kirsch liqueur is also a popular alternative for Black Forest cake. In cherry liqueur, cherries are soaked for some time in already destilled alcohol. Usually the alcohol content is lower and it is a lot sweeter than Kirsch.
What is Kirschwasser?
Kirsch, also called "kirsch", is a clear fruit spirit distilled from fermented bird cherries. Bird cherries are a wild form of the cherry from which cultivated sweet cherries are descended.
Schwarzwälder Kirschwasser is a trademarked name for cherry brandy produced in the German Black Forest region from the cherries that grow there.
What to use instead of Kirsch for black forest cake?
As an alternative to Kirsch, "normal" cherry brandy or schnapps or the somewhat sweeter cherry liqueur can also be used for the Black Forest cake. For a non-alcoholic alternative, cherry juice or the dripping juice from the preserved cherries, which are placed between the cake layers, is also very common.
Is Black Forest cake suitable for children?
Please note that the use of kirsch, kirsch brandy or cherry liqueur in the cake is not suitable for children or people who do not want to consume alcohol.
You can use cherry juice or the juice of canned cherries to make Schwarzwälder Kirschtorte without alcohol.
Click here for more pastry and cake recipes
Black Forest Cake
Zutaten
For the batter
- 6 egg white
- 6 egg yolk
- 8 tbsp. water ~100-120ml
- 1 cup granulated sugar 200g
- ¾ cup all purpose flour 105 gram
- 6 tablespoons cornstarch 45 gram
- 8 tablespoons cocoa powder 40 gram (baking cocoa, unsweetened)
For filling and topping
- 1-2 cans tart cherries canned sour cherries ~350g/14oz net weight
- 2 cups cream for whipping 500ml (heavy cream, double cream)
- chocolate flakes grate a chocolate bar alternatively
- 12-16 candied cherries or canned tart cherries as an alternative
- juice from canned tart cherries or cherry juice
- Kirsch or cherry brandy, cherry schnaps or liqueur
- red currant jelly optional
Further
- butter for the springform pan
- flour for the springform pan
Anleitung
- Cut baking paper the size of the cake pan and line the bottom of the pan with it. If no baking paper is at hand, grease with butter and dust with flour.

- Grease the ring of the cake pan with butter and sprinkle with flour. To do this, take a spoonful of flour and sprinkle it on the greased cake ring. Then turn the cake ring with one hand and tap it lightly with the other hand so that the flour is distributed evenly.
- Weigh all ingredients for the dough and put into separate bowls.Mix the flour with the cornstarch.Sift the cocoa over it and mix with the flour and cornstarch.
- Preheat oven to 360°F (~180°C). For electric ovens, top and bottom heat.
- Separate egg yolks from whites and set aside in separate bowls.
- Add 8 tablespoons of water to the egg whites.
- Beat egg whites with a mixer until very stiff.
- Mix the weighed sugar to the egg whites.
- Bit by bit, mix in the egg yolks.
- Gradually add the cocoa-flour-cornstarch mixture (again, using the sieve so it doesn't get crumbly).
- Don't use the mixer, but rather just fold in.
- Fill into the prepared cake tin.
- Bake the cake in a pre-heated oven at 360°F (~180°C) for about 40 minutes.
- Cover the cake pan with a cake rack (or a large plate) and turn the entire cake upside down so that the straight BOTTOM is now ON TOP.Let cool for a few hours or overnight (covered).
- When the cake has cooled, cut it into 3 layers with a cake cutter.
- Before you start to fill the first layer, use a cake lifter or large plate to lift down the top two layers.
- Drain the canned sour cherries through a sieve. Collect the juice in a bowl.
- Now drizzle the bottom cake layer with Kirsch (cherry brandy/liqueur/schnapps) and/or the juice of the canned cherries. About 10-15 tablespoons per layer. The layer should get lots of the cherry flavor, but also not be drowned.
- Spread the cherries evenly on the bottom layer.
- Using a mixer, whip the whipped cream until stiff and spread about a quarter of the cream (i.e. 125ml) on the first layer.
- Repeat the same with the middle layer: carefully lift onto the bottom layer (with the help of the cake rack/plate); drizzle with cherry liqueur/cherry juice, top with cherries and spread with about another quarter of the whipped cream.
- Now carefully lift the remaining layer on top.You can, if you like, now spread a thin layer of currant jelly (red currant jelly) on top and on the sides. This will make the cake more moist.
- Spread another quarter of the whipped cream on top and on the sides.
- To spread the chocolate sprinkles evenly on the edge of the cake, take the cake on the cake lifter or plate in one hand. In the other hand, take the chocolate sprinkles and sprinkle them on the sides of the cake.Hold the cake a little askew (but not too much), so that the sprinkles can be distributed more evenly.Finally, sprinkle the top evenly with chocolate shavings.
- With a cake syringe or piping bag, place about 12 to 16 small dots of whipped cream (cream puffs) at the edge of the cake.
- Place a candied cherry (or sour cherry) on each dollop of cream and you have a masterpiece!


(c) by Angelika Kreitner-Beretits / Vienna Sunday Kitchen
Juli 8, 2023 Hast du das Rezept ausprobiert? Dann freue ich mich über deine Bewertung!! / Rate this Recipe!
Ich freu mich über deine Rückmeldung zum Rezept in den Kommentaren!